Imagine the hassle when a particular user has to login multiple times a day and remember different login & passwords throughout a ton of services and applications. It’s rather troublesome and annoying especially if the website/application require you to reset your password from time to time.
Users can securely authenticate with multiple applications and websites by logging in once with just one set of credentials (e.g. Active Directory). Okta supports a wide variety of SAML applications with GlobalProtect being one of them. SaaS applications such as Office 365 and many more are supported. It vastly improves the user experience, but SAML still needs to be paired with MFA for additional layers of authentication because it’s not an end-all solution that solves all security concerns.
SAML is based on the XML Protocol that uses security tokens containing assertions. When the user tries to access an application or to be specific a service provider, it’ll forward the request to an Identity Provider (Okta for example) and back to the application (service provider).
Let’s Encrypt vs self-signed certificate
While it’s very easy to generate a self-signed certificate, there are plenty of reasons to issue a valid certificate to GlobalProtect. First of all, it gets rid of annoying certificate warnings and second the compatibility on mobile devices is better due to the difficulty of installing self-signed certificates. A valid certificate is so much more practical than asking your employees to trust or install certificates. Forcing your employees to trust a certificate is bad practice and asking them to install one isn’t always an option.
Prerequisites
- Apache2 Webserver with Certbot Installed
- Webserver publicly reachable
- A registered public domain name
- GlobalProtect Portal/Gateway configured
- User-ID configured on the firewall with Active Directory Integration
- Okta’s Active Directory Agent installed
- 30 day trial over at okta.com
Requesting Let’s Encrypt Wildcard Certificate
We’ll request wildcard certificates for the actual domain name and subdomains which will make HTTPS deployments much easier. The benefit to wildcard certificates is that you do not have to manually request a certificate for every subdomain you create. Since there’s nothing similar to Certbot on the Palo Alto Firewall – requesting let’s encrypt certificates is impossible unless it’s a wildcard certificate. Or from a premium SSL Vendor like DigiCert that supports web enrollments of SSL certificates.
$ sudo certbot certonly –manual -d *.faatech.be -d faatech.be –agree-tos –no-bootstrap –manual-public-ip-logging-ok –preferred-challenges dns-01 –server https://acme-v02.api.letsencrypt.org/directory
Certbot will require to deploy a TXT record with the given values. So head over to your domain registrar and add a DNS Record like so:
_acme-challange@faatech.be TXT “Code-Certbot-Gave”
It might ask you to add another TXT record. I recommend setting the TTL to 5 min when adding a new record, so you don’t have to wait a day to verify it.
Importing Public and Private Key to the firewall
The Palo Alto Firewall requires a passphrase when importing a private key. By default Let’s Encrypt certificates do not ship with passphrases, so we’ll have to add one.
Head over to the location where let’s encrypt certificates are stored /etc/letsencrypt/live/.
- cert.pem = domain’s public key certificate
- privkey.pem = domain’s private key certificate
- chain.pem = Let’s Encrypt Intermediate CA Certificate
- fullchain.pem = cert.pem + chain.pem
First we backup our original privkey.pem in case anything goes wrong.
$ cp privkey.pem privkey.pem.bak
We have to copy the original private key to a new file in order to add a passphrase.
$ openssl rsa -aes192 -in privkey.pem -out privkeywithpassphrase.pem
To upload those to the Palo Alto Firewall – I’ve copied the “cert.pem” and “privkeywithpassphrase.pem” to a non-root user’s home directory. So I reach it with Filezilla over SSH to transfer them to my PC.
$ cp privkeywithpassphrase.pem /home/someuser/
$ cp cert.pem /home/someuser/
$ chown someuser: /home/someuser/privkeywithpassphrase.pem
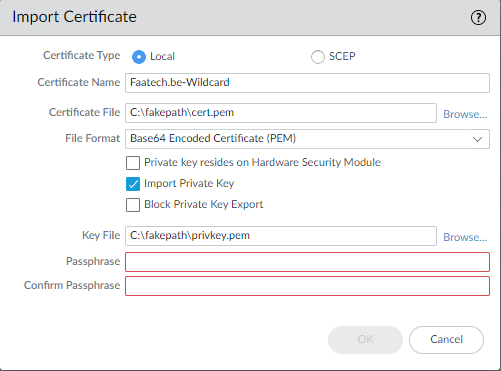
Device > Certificate Management > Certificates
Import the cert.pem as the “Certificate file” and the privkeywithpassphrase.pem as the “Key file”.
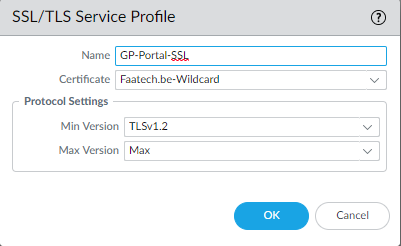
Create an SSL/TLS Service Profile for the GlobalProtect Portal.
And a separate one for the External Gateway.
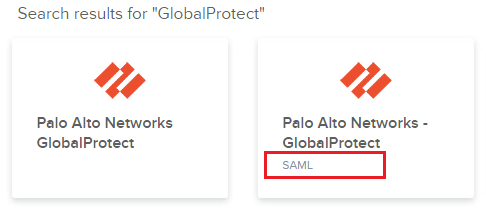
GlobalProtect SAML App Configuration
Make sure to select the one with “SAML”. The other one is for RADIUS authentication which isn’t of any use to us.
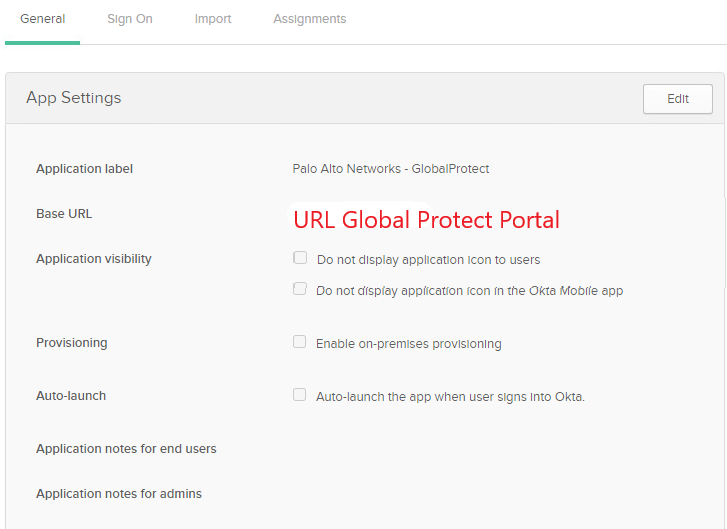
Enter the GlobalProtect’s Portal/External Gateway URL as your “Base URL”. I have my Portal and External Gateway configured with the same URL.
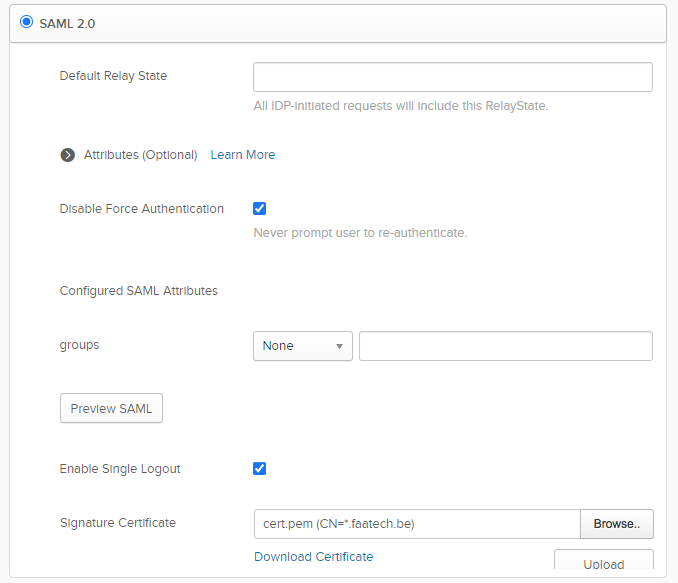
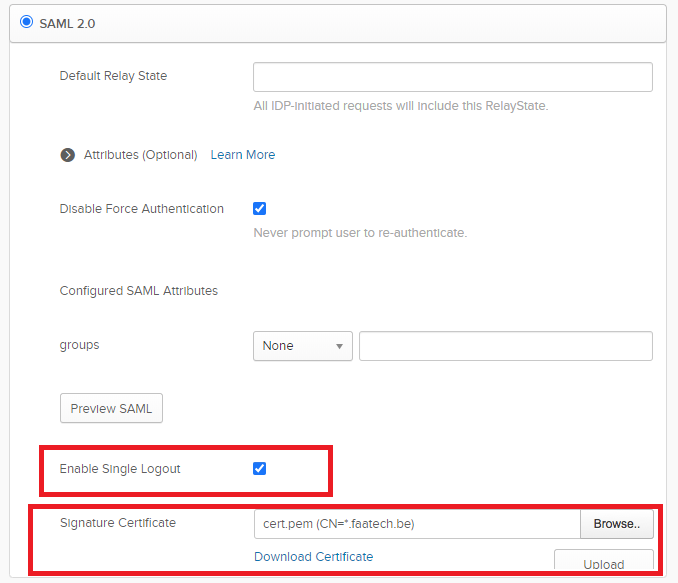
Edit the config and enable SLO which is optional but I’d recommend doing it for the sake of following this guide. Upload the Public Key (cert.pem) and save it. It doesn’t need the private key so don’t upload that one.
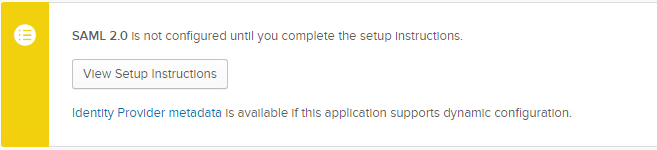
Download the metadata (right click > save as …)
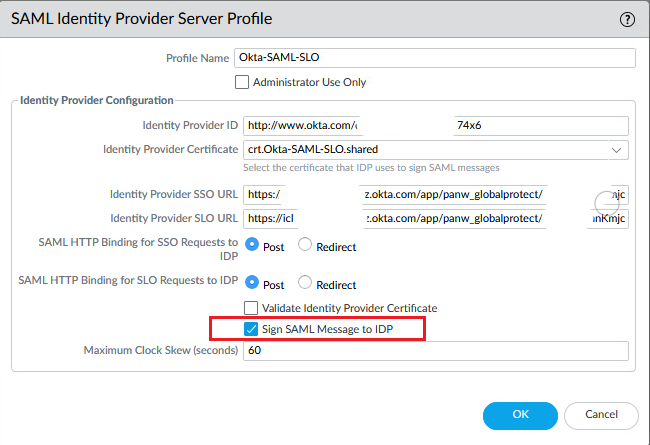
Server Profiles > SAML > Import > the metadata file you just downloaded.

Edit the SAML Server Profile and check “Sign SAML Message to IDP”
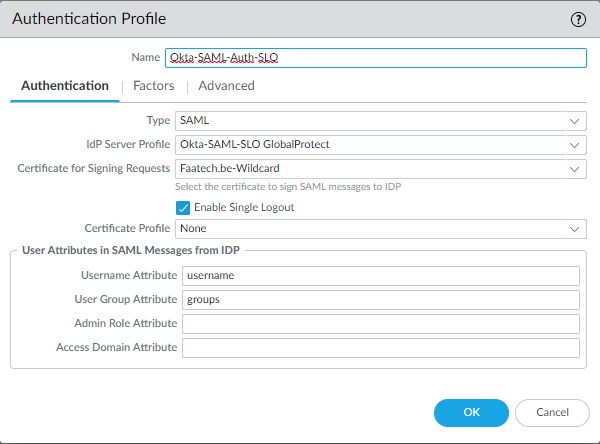
Profile Device > Authentication Profiles > Add a new Authentication Profile. Choose the Okta IdP Server Profile, the certificate that you created, enable Single Logout and fill in “groups” under “User Group Attribute”.
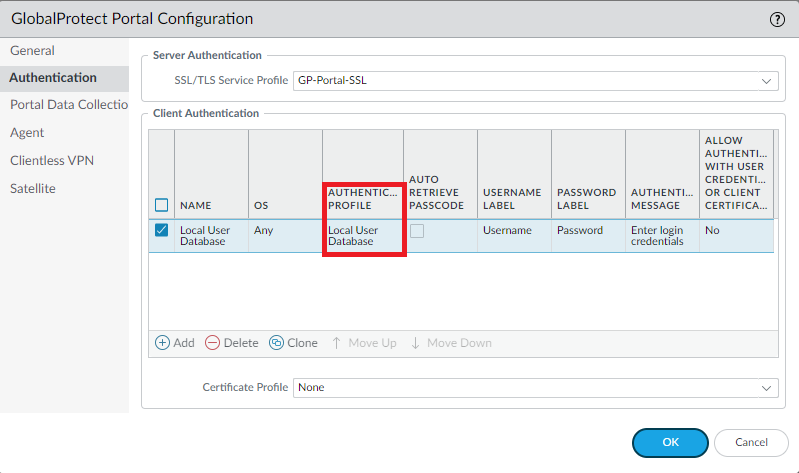
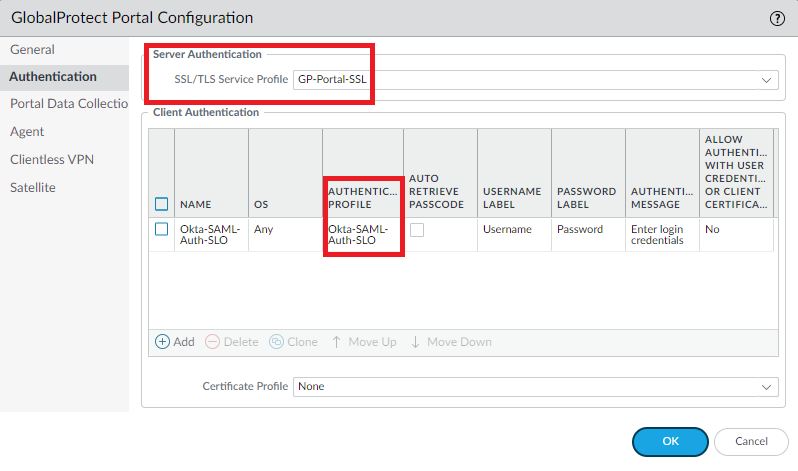
Network > GlobalProtect > Portals > Authentication > Attach the SAML Authentication Profile to the GlobalProtect Portal. Select the Portal’s SSL/TLS Service Profile.
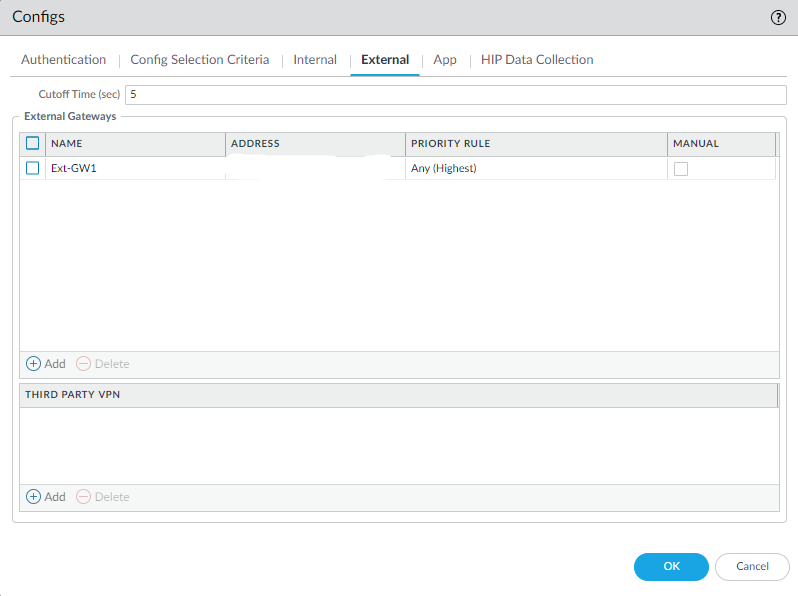
Agent > Edit Agent > External.
Make sure the External Gateway’s URL is set to a FQDN under the Agents Tab.
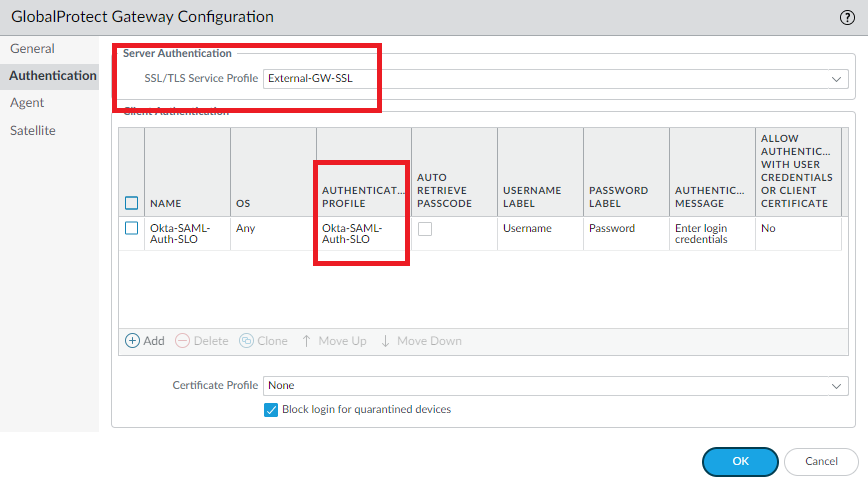
Network > GlobalProtect > Gateways > Authentication > Attach the same SAML Auth Profile to the External Gateway. Select the External Gateway’s SSL/TLS Service Profile
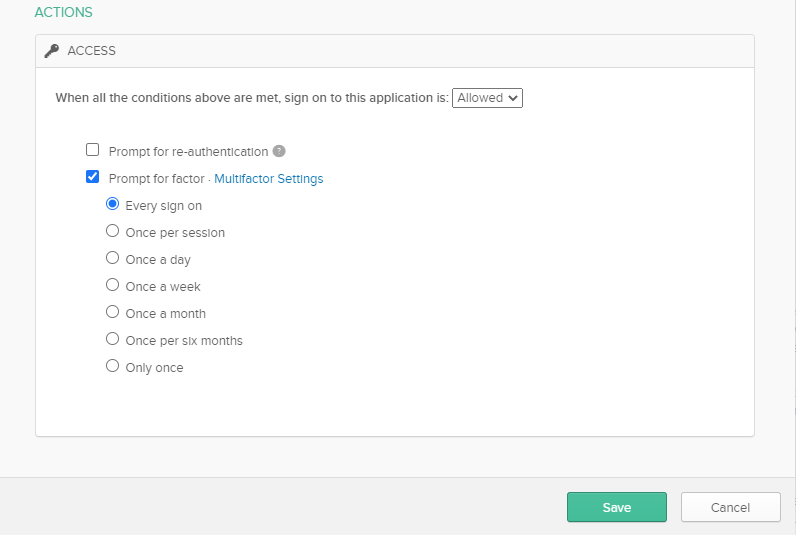
Under the GlobalProtect VPN SAML App on Okta add a new policy that users should use MFA so they have to verify their login with the App.
Conclusion
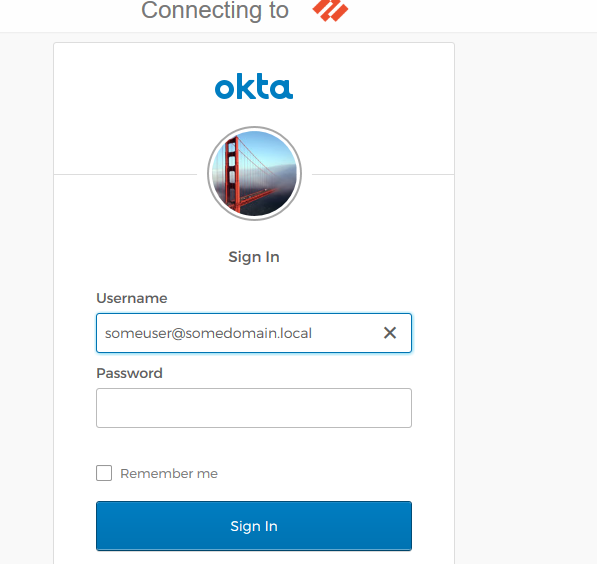
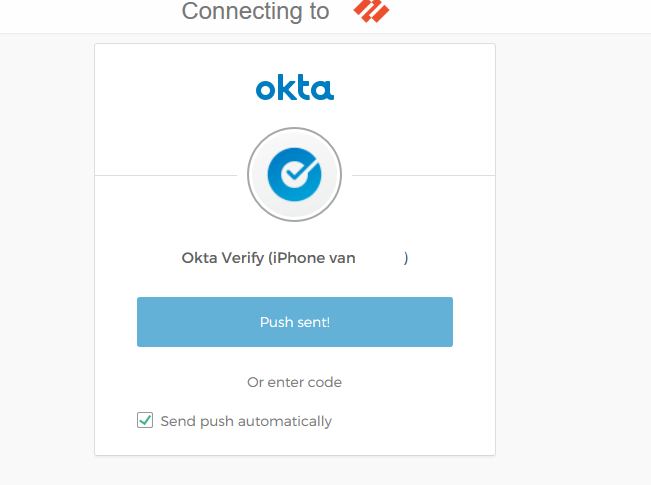
When connecting to the Portal, it automatically forwards it to the login page at Okta for your organization and send out a Push notification after a successful login. No certificate warnings should happen during the entire process.
Whether you want a Push Notification or to enter a PIN-code (OTP).
Swap the authentication profile to a “Local User Database” to temporarily rule out Okta to verify the Let’s Encrypt certificate is working in full effect. The web-page of the Portal should have no certificate warnings. Revert it back if everything is working as intended.