In this guide we’ll be configuring iSCSI in ESXI with TrueNAS as our storage server. For those who do not have access to another ESXI server or an actual TrueNAS server, simply virtualize it. For this demo I have used a nested ESXI VM appliance and just installed TrueNAS as a VM.
The nested ESXI VM appliances are available through: Nested ESXi Virtual Appliance (williamlam.com)
Topology
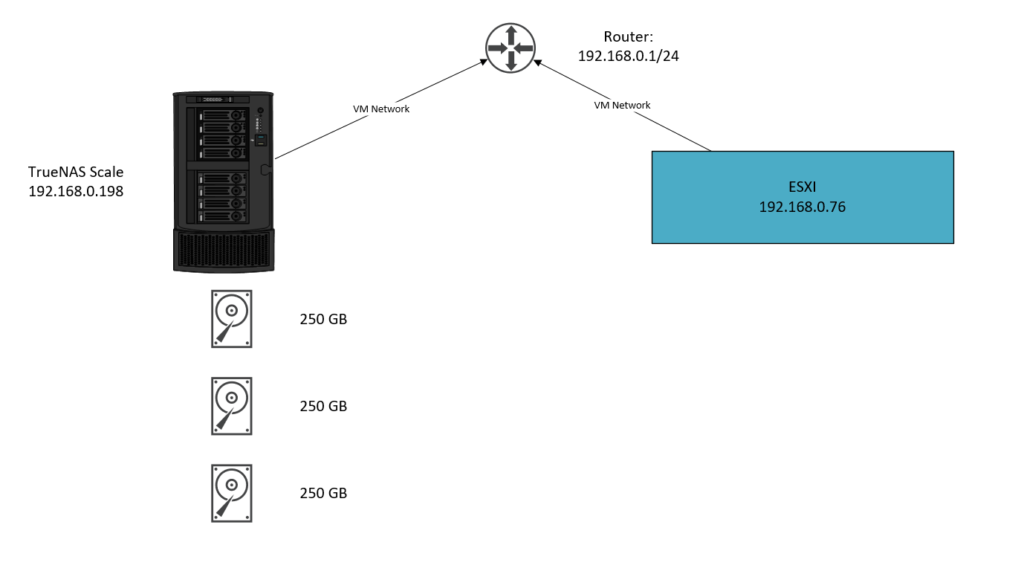
To keep things simple and not make this about networking, I’ve used the default VM Network port group which is the uplink port group for many of us. And in my case, the subnet is 192.168.0.0/24. Use thin provisioning across all your virtual disks in a lab environment.
TrueNAS VM:

Nested ESXI VM:

Note: No drives were added to our nested ESXI appliance because there’s no need for it.
Configurations in TrueNAS Scale
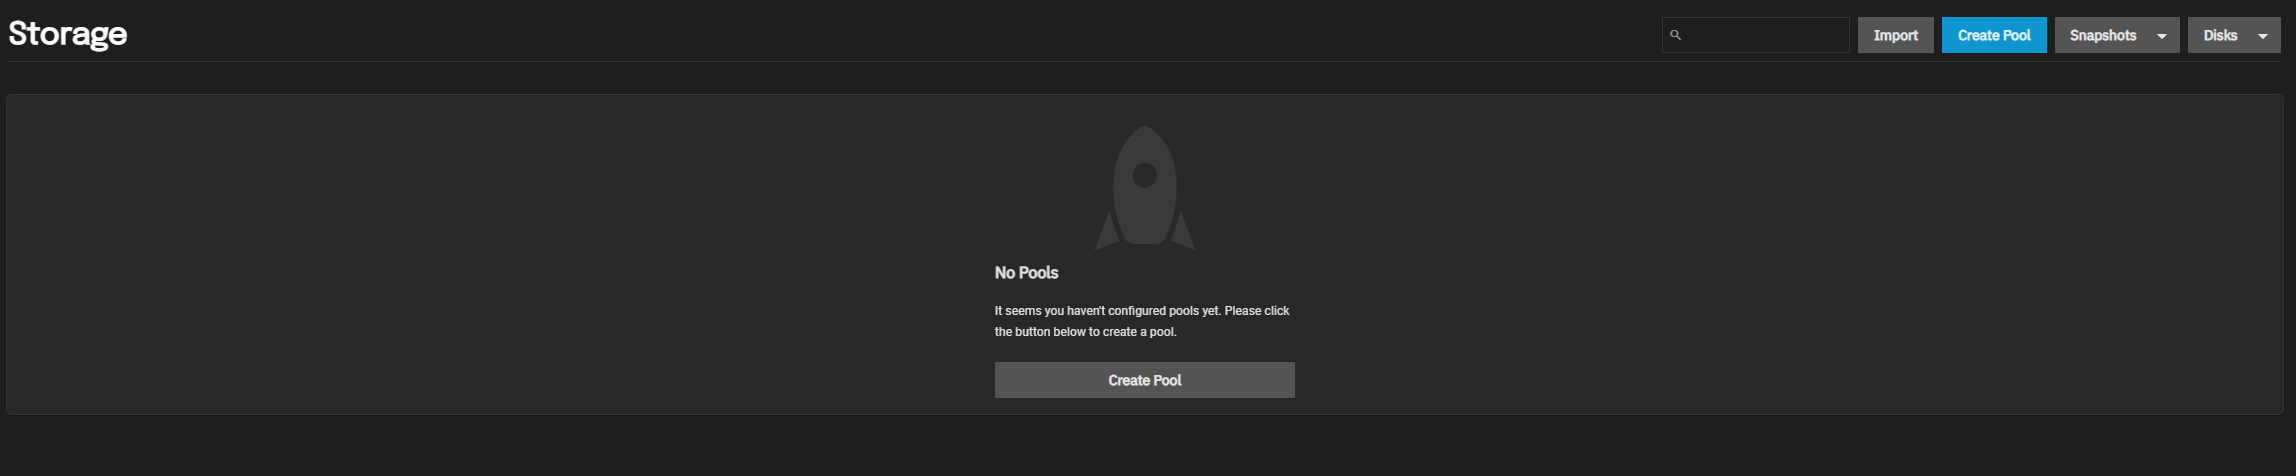
First of all, we’ll start creating a new pool. Head over to the ‘Storage’ tab.
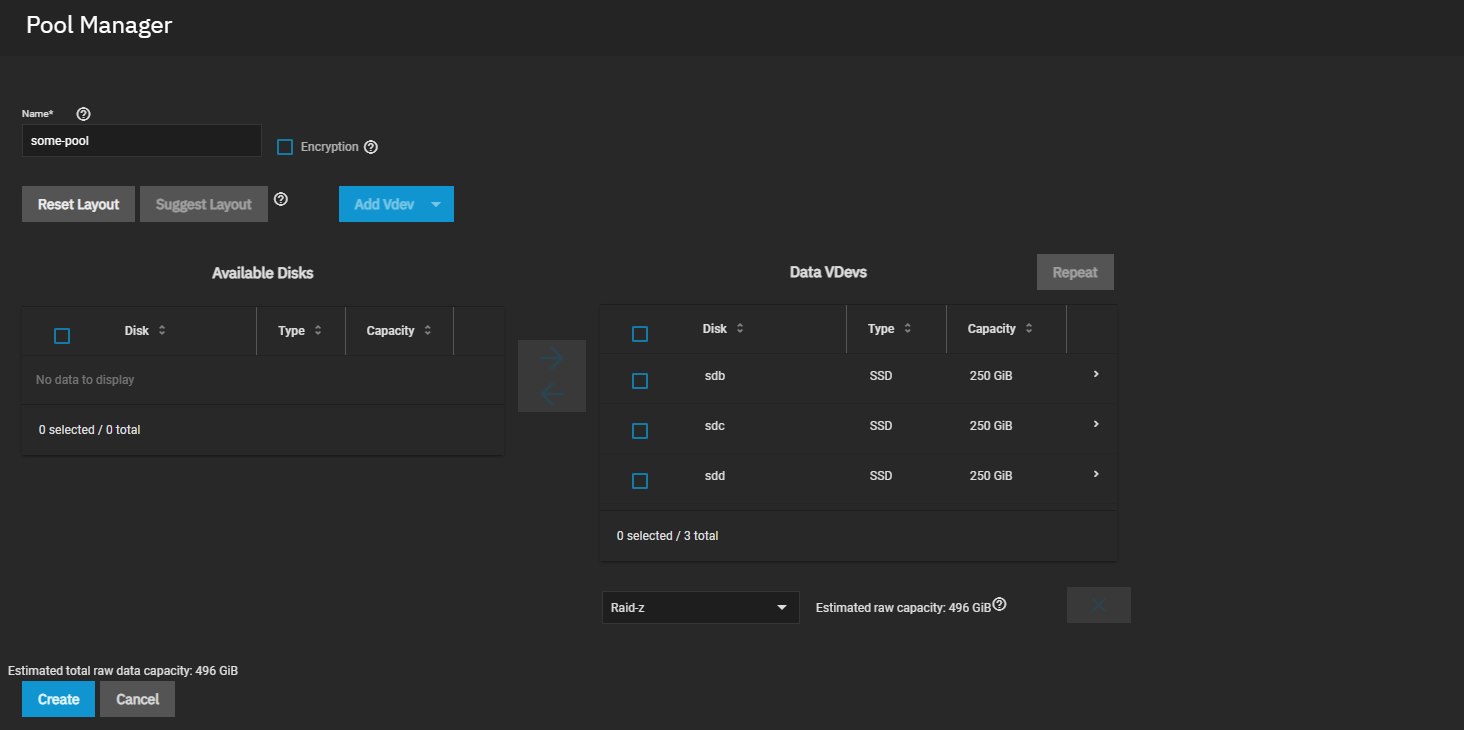
Next, we’ll be adding our 3x 250 GB disks to our pool. If you’re virtualizing TrueNAS, then you might get the warning that your drives do not have a unique serial number. Just click on it so your drives appear nonetheless.
After you created your pool, it’s time to add a ‘zVol’. In the TrueNAS world, zVol are just block based devices within a pool. We need block-based devices in vSphere because datastores use their own file system (VMFS).
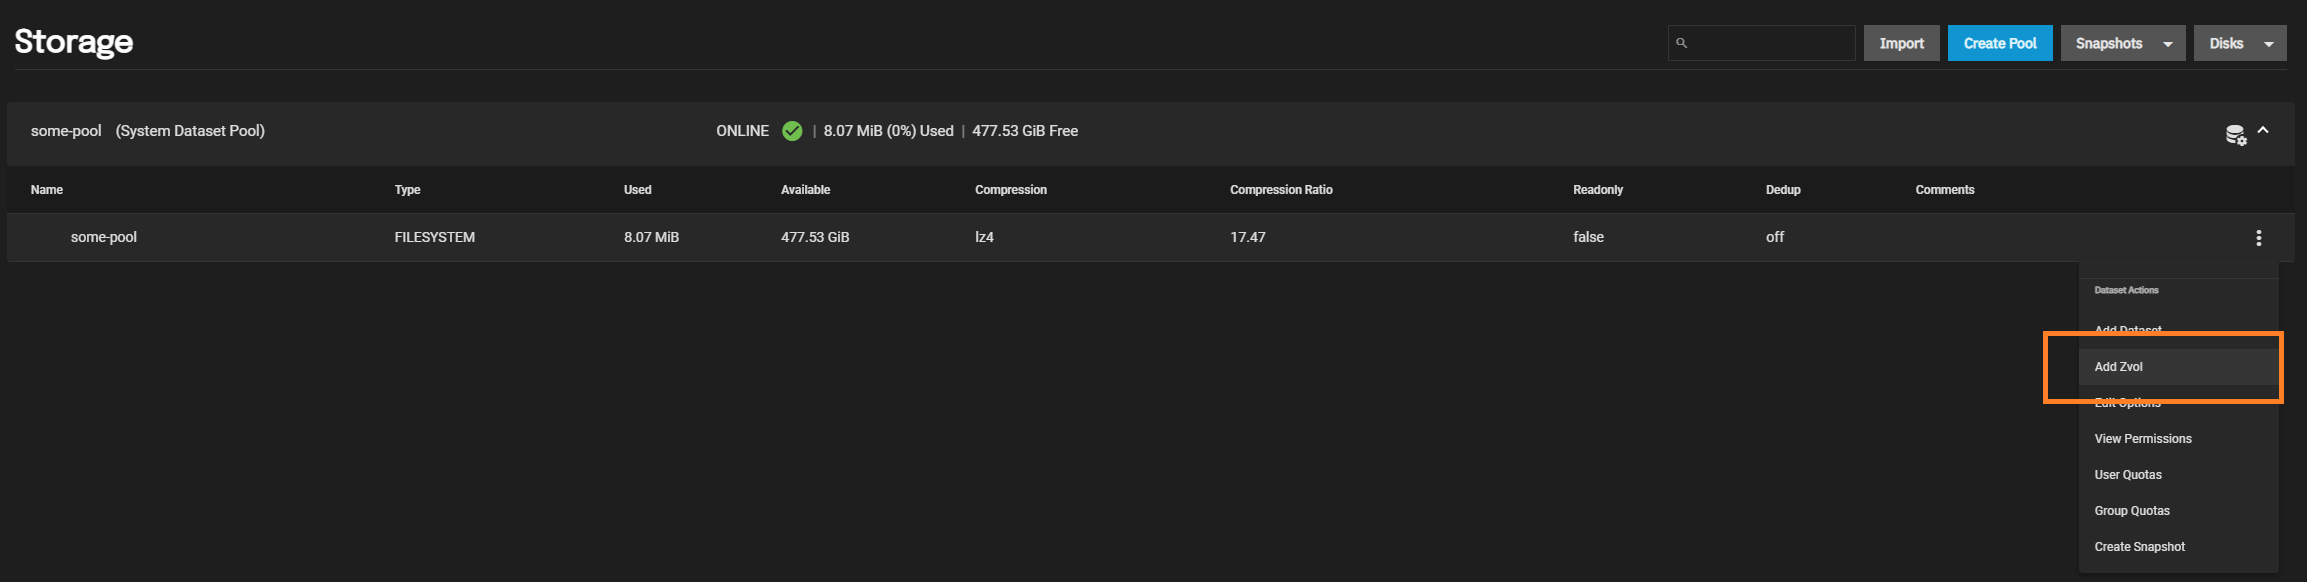
Give it a name, define a size as well.
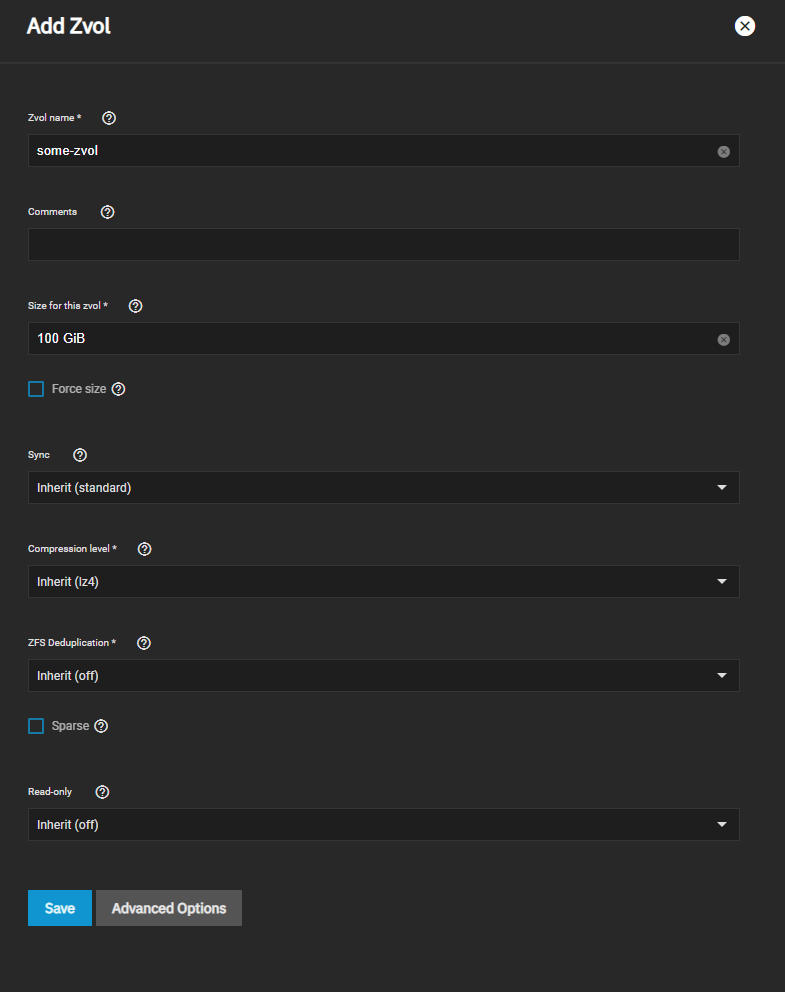
Then it should look like this:

The pool is a filesystem (ZFS) and the zvol is a volume. Next, we’ll have to configure iSCSI shares in TrueNAS and to do that we’ll be using the wizard which makes it easier.
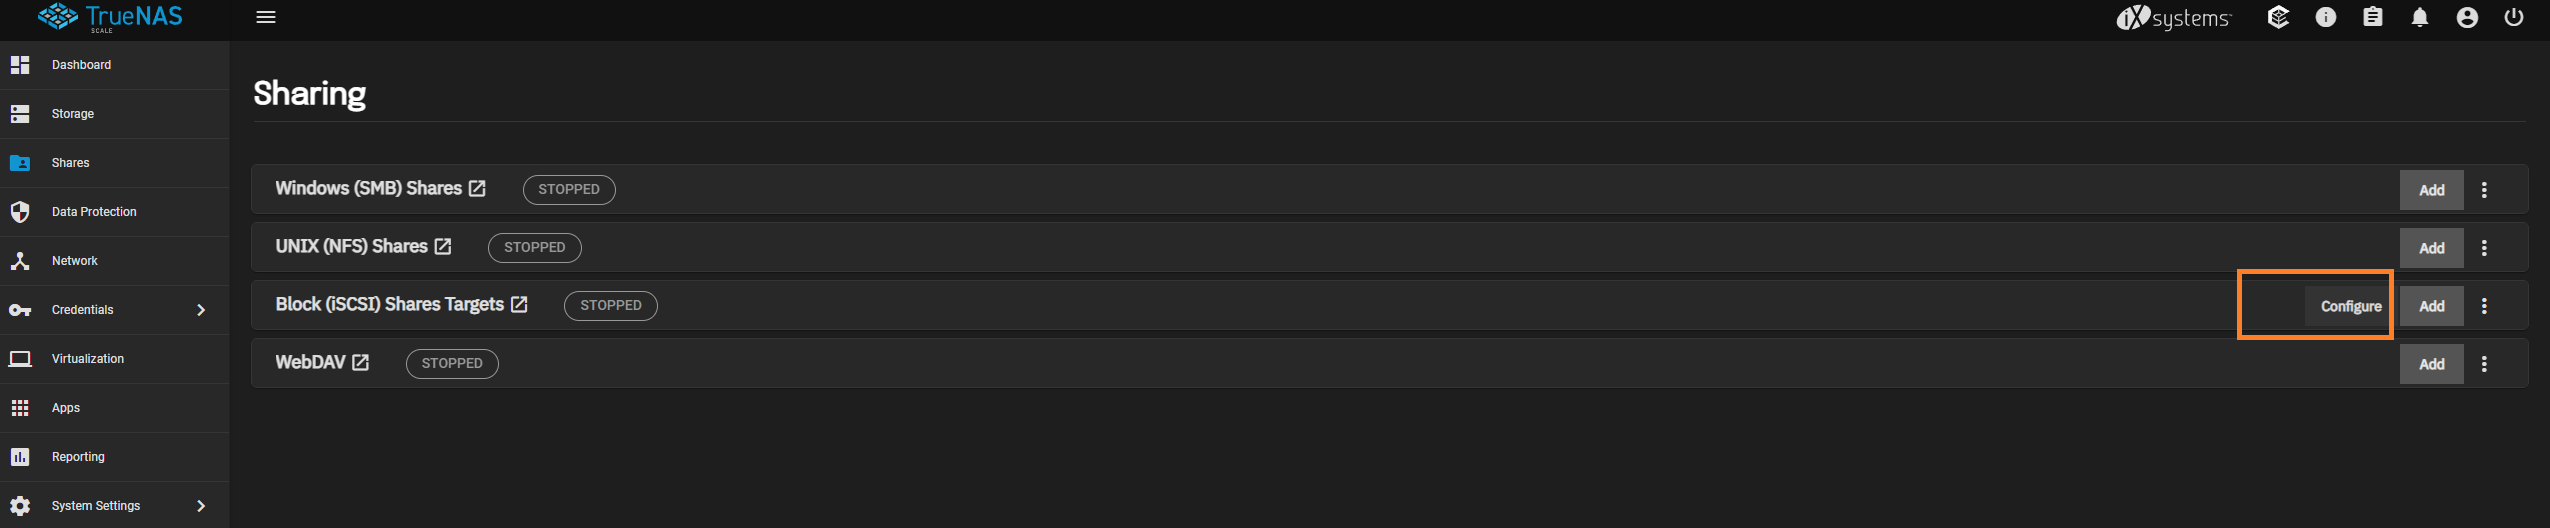
Head over to Shares > iSCSI > Configure
Then you should see the ‘Wizard’ button in the top right.
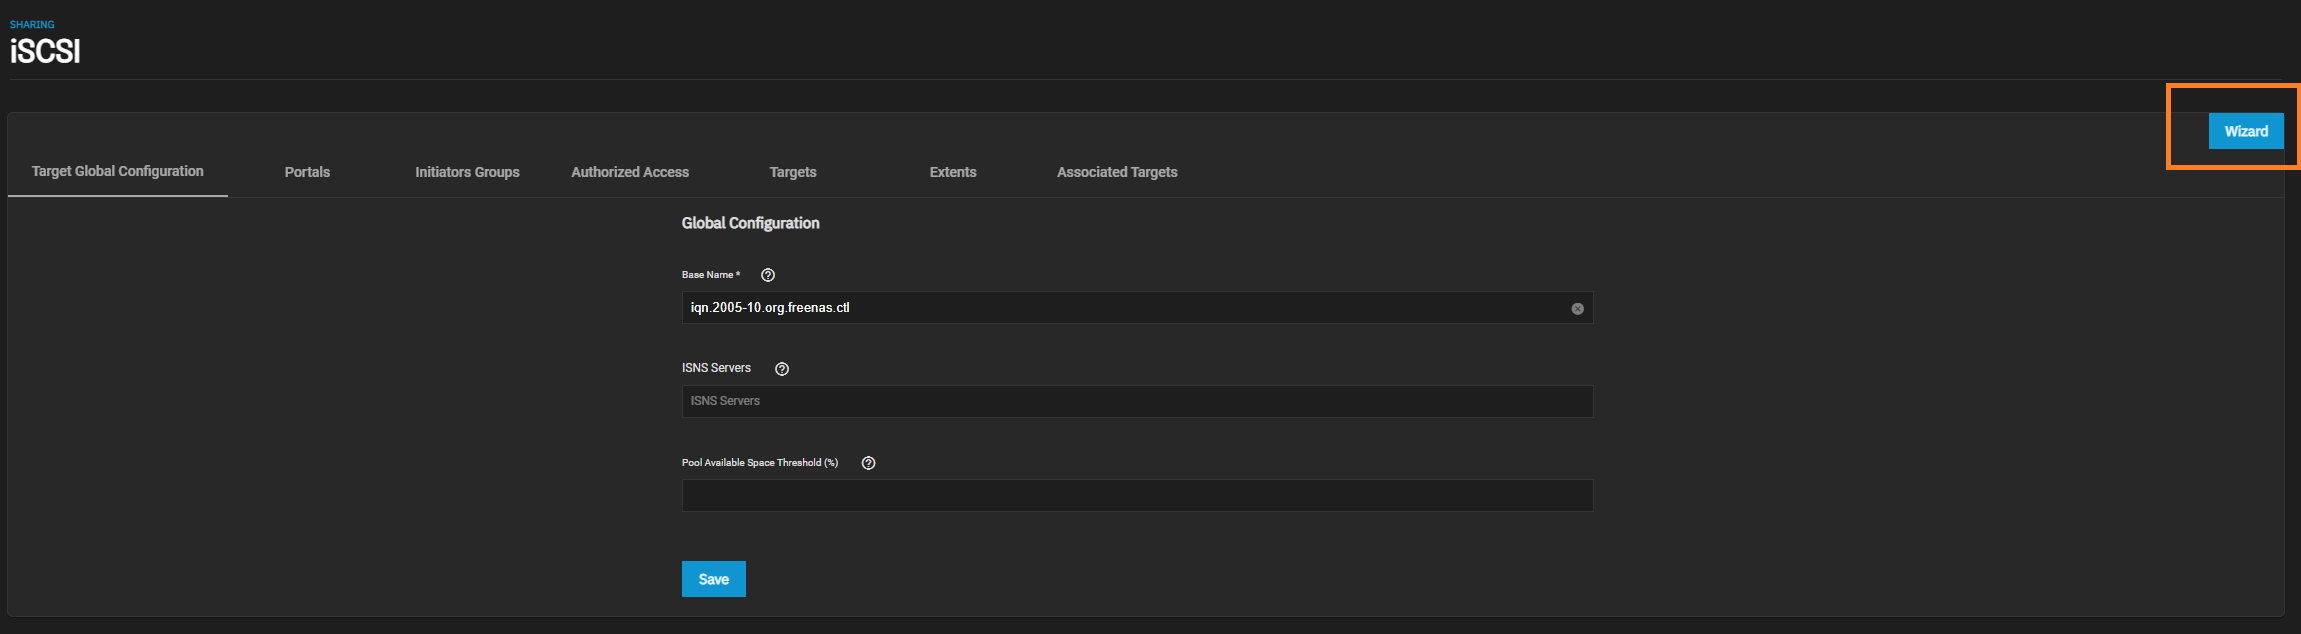
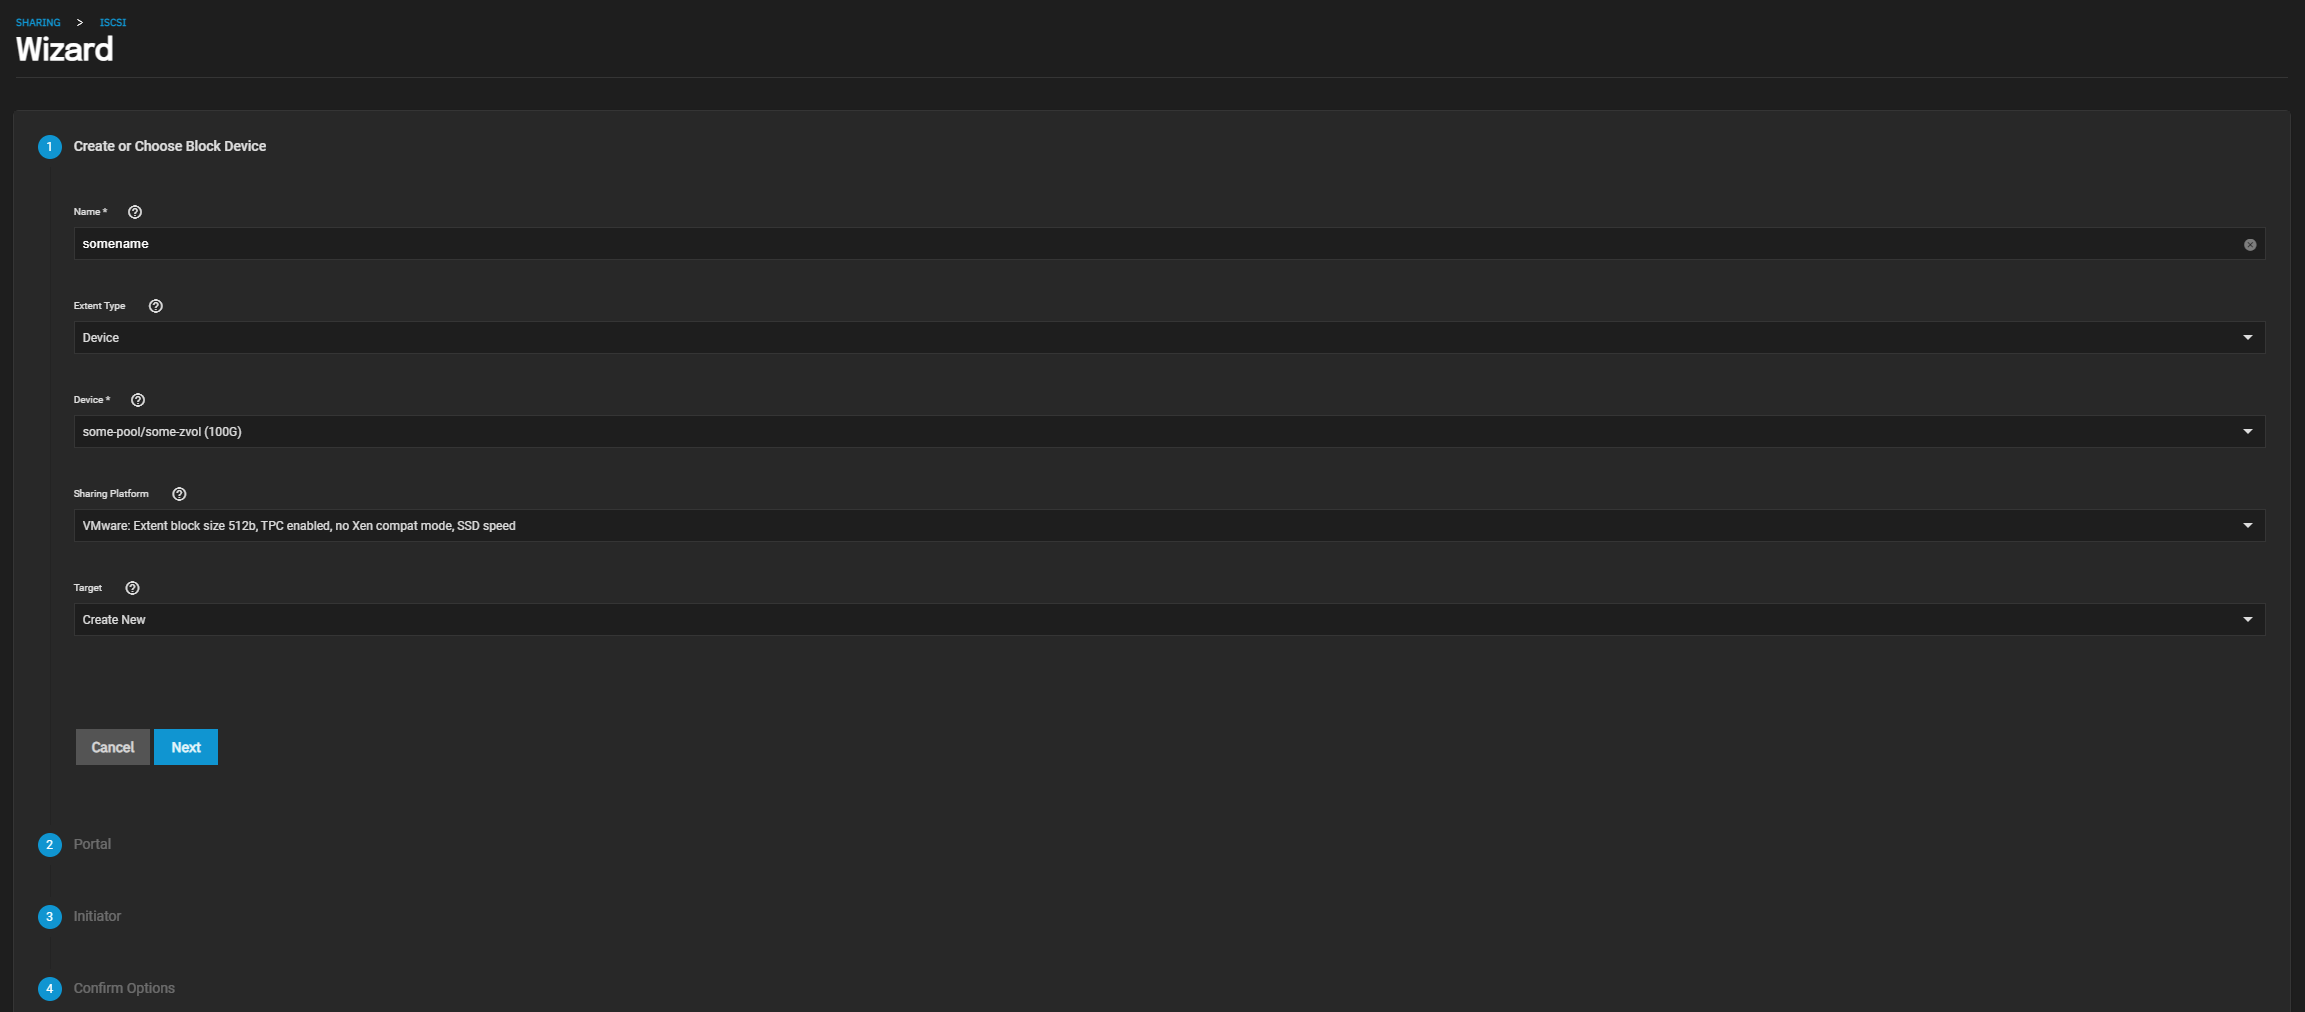
Give it a name and select the zvol as the device. Then click next.
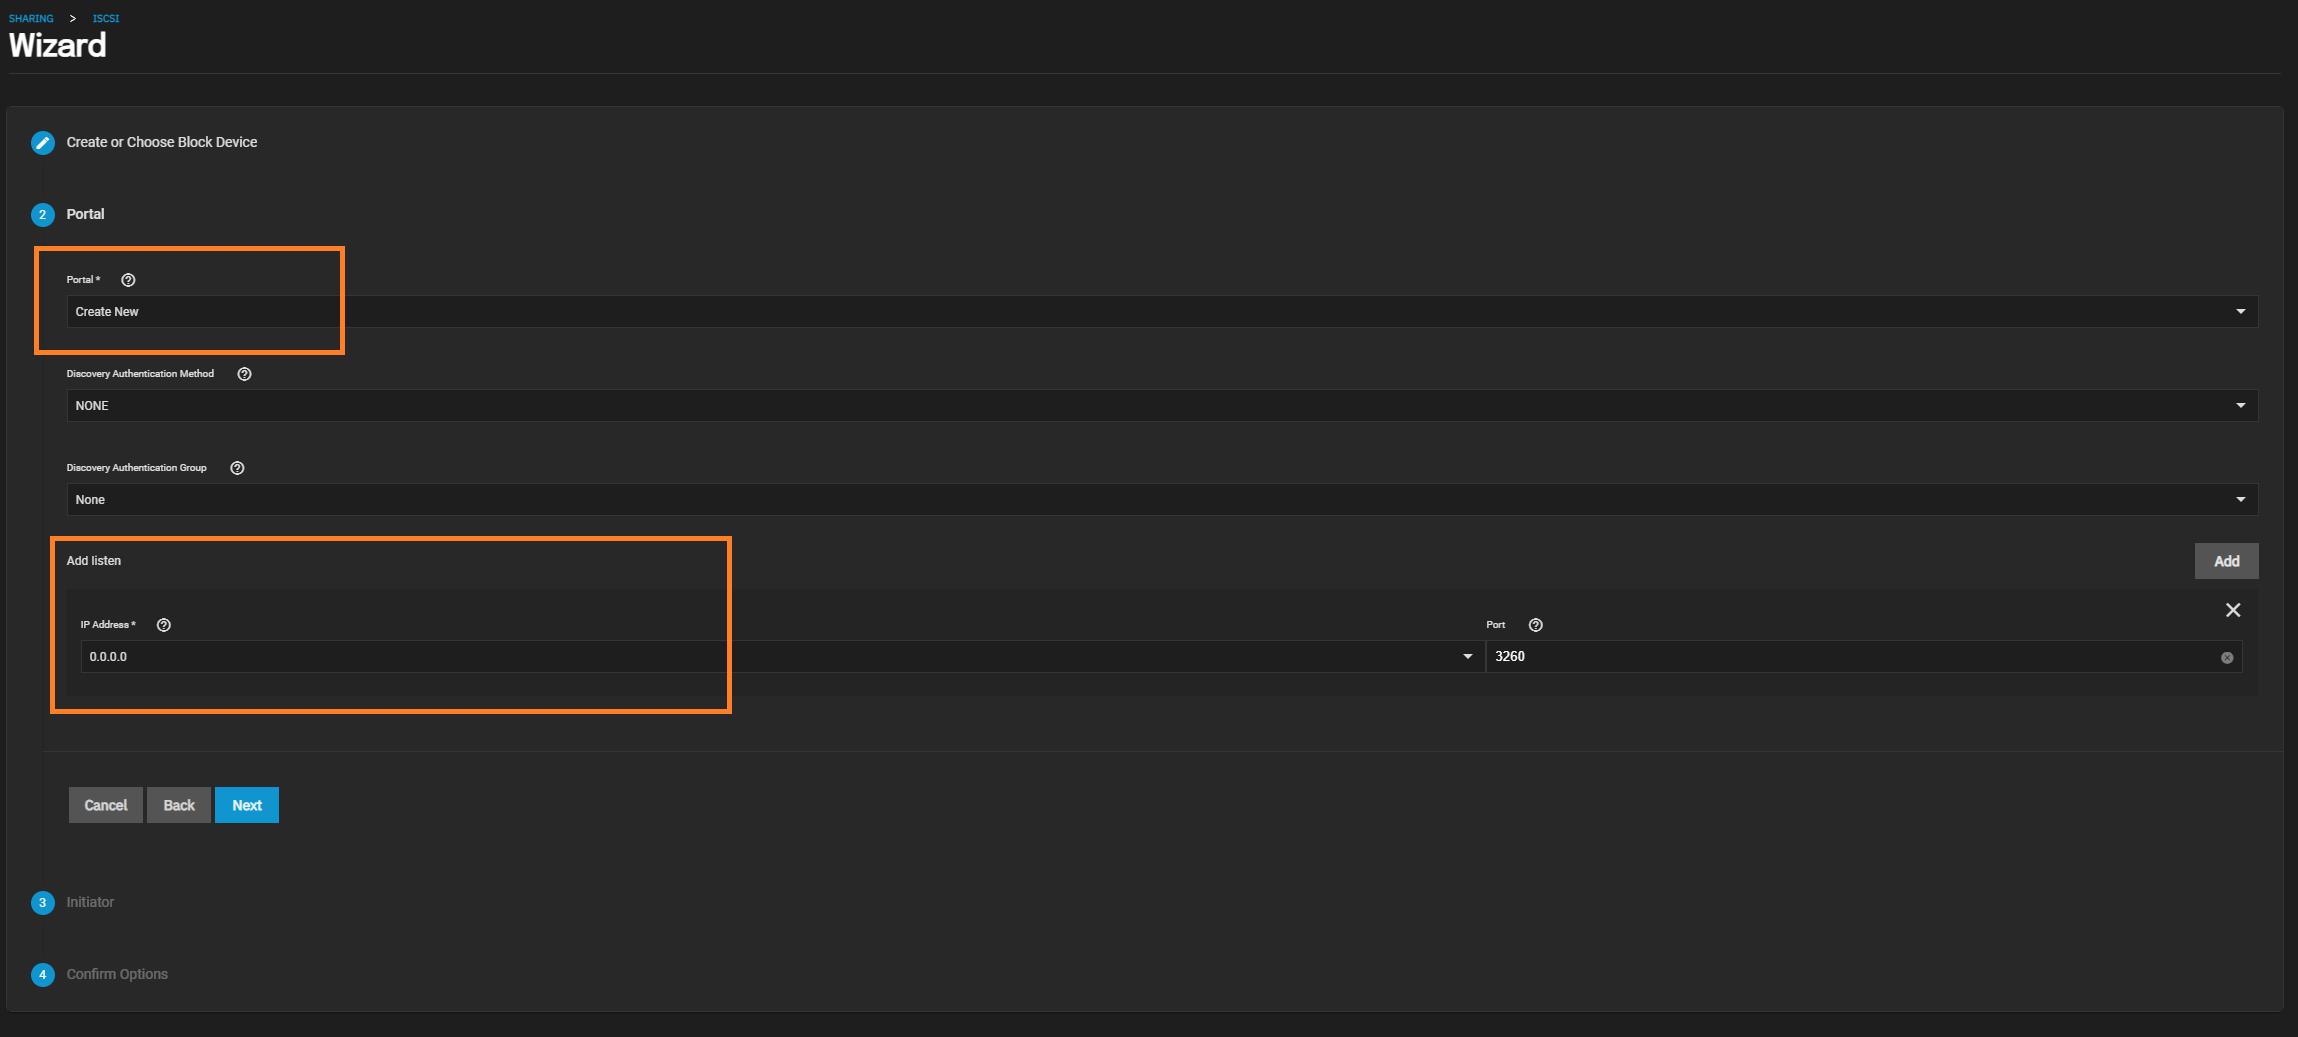
Then create a new portal, and make sure to select the IP-address that will listen on. The address 0.0.0.0 just means that it will listen on all possible IP addresses on any interfaces. Then click next if done.
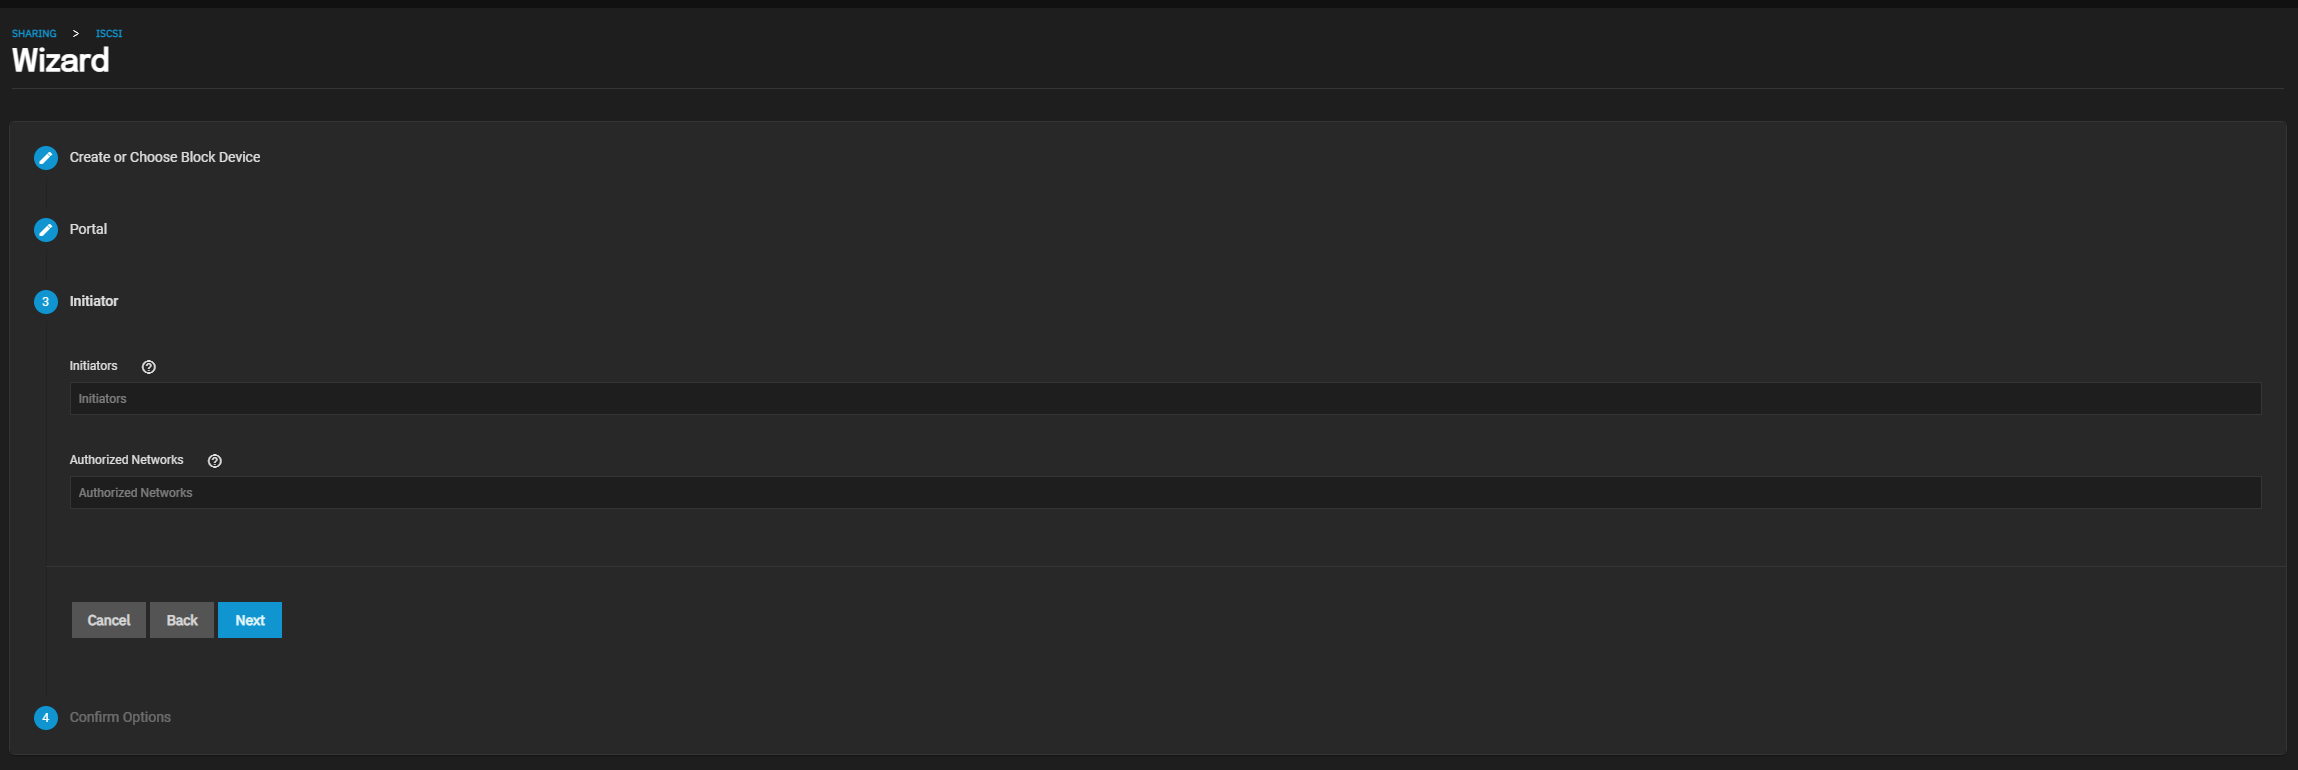
We’re not configuring anything in Step 3, so just click next.
Finalizing our configuration:
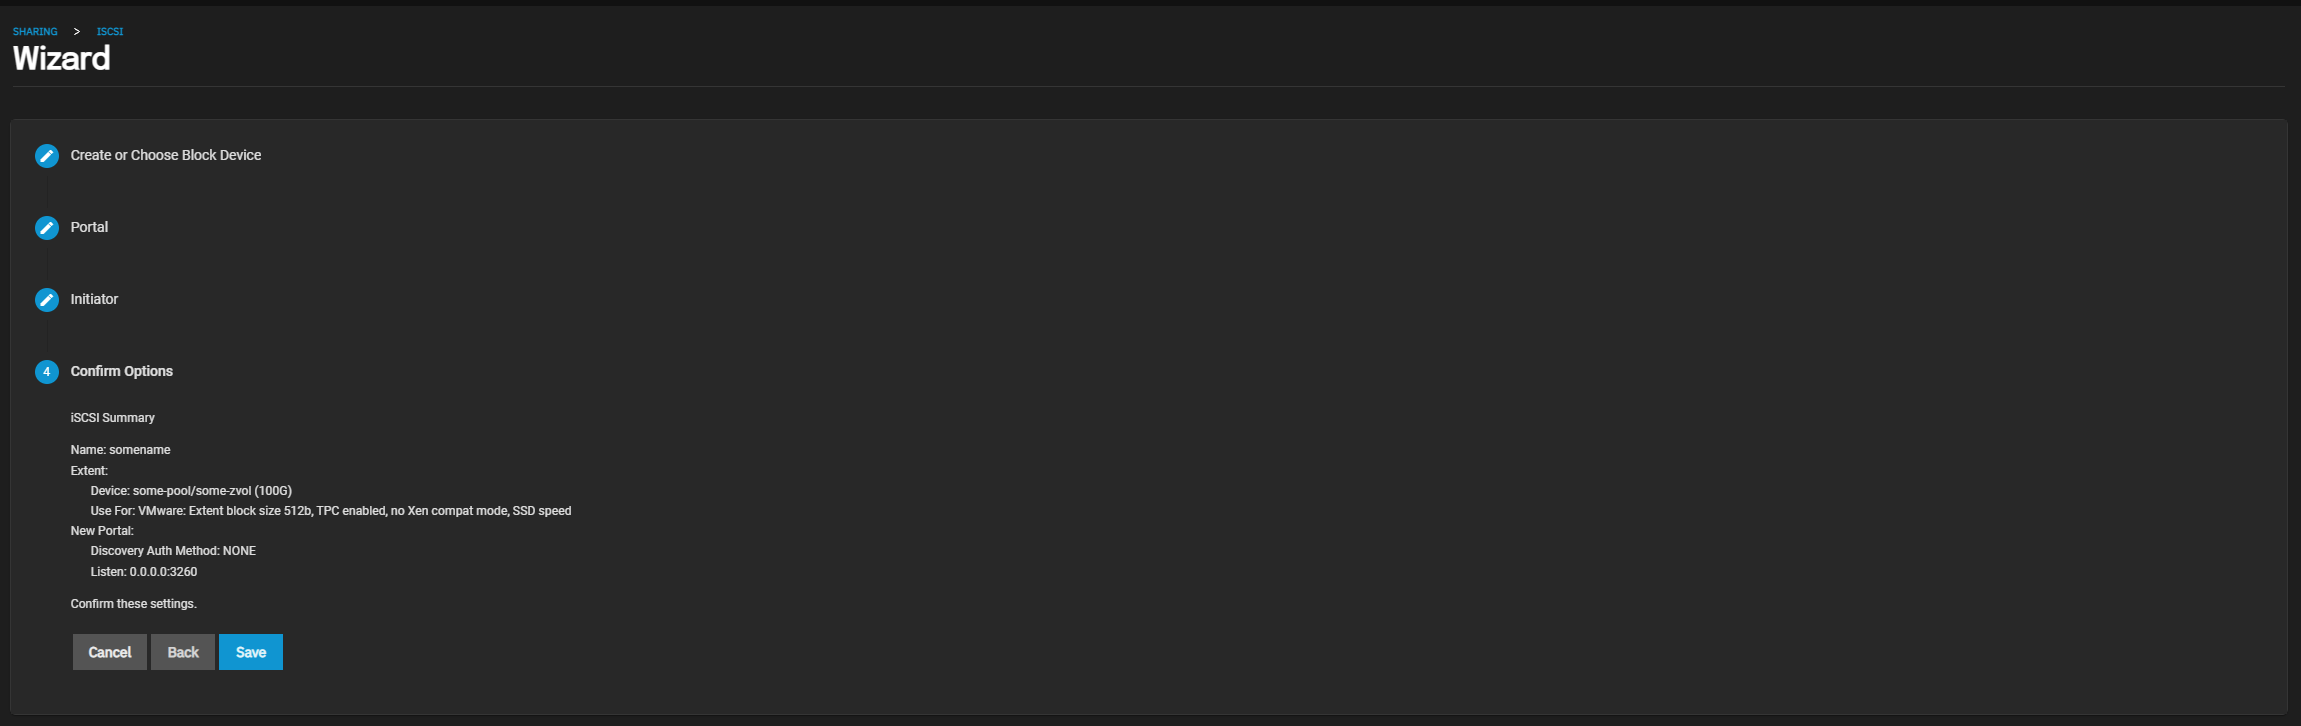
Then it should prompt to enable the service, if not then just click the ‘Save’ button below again.
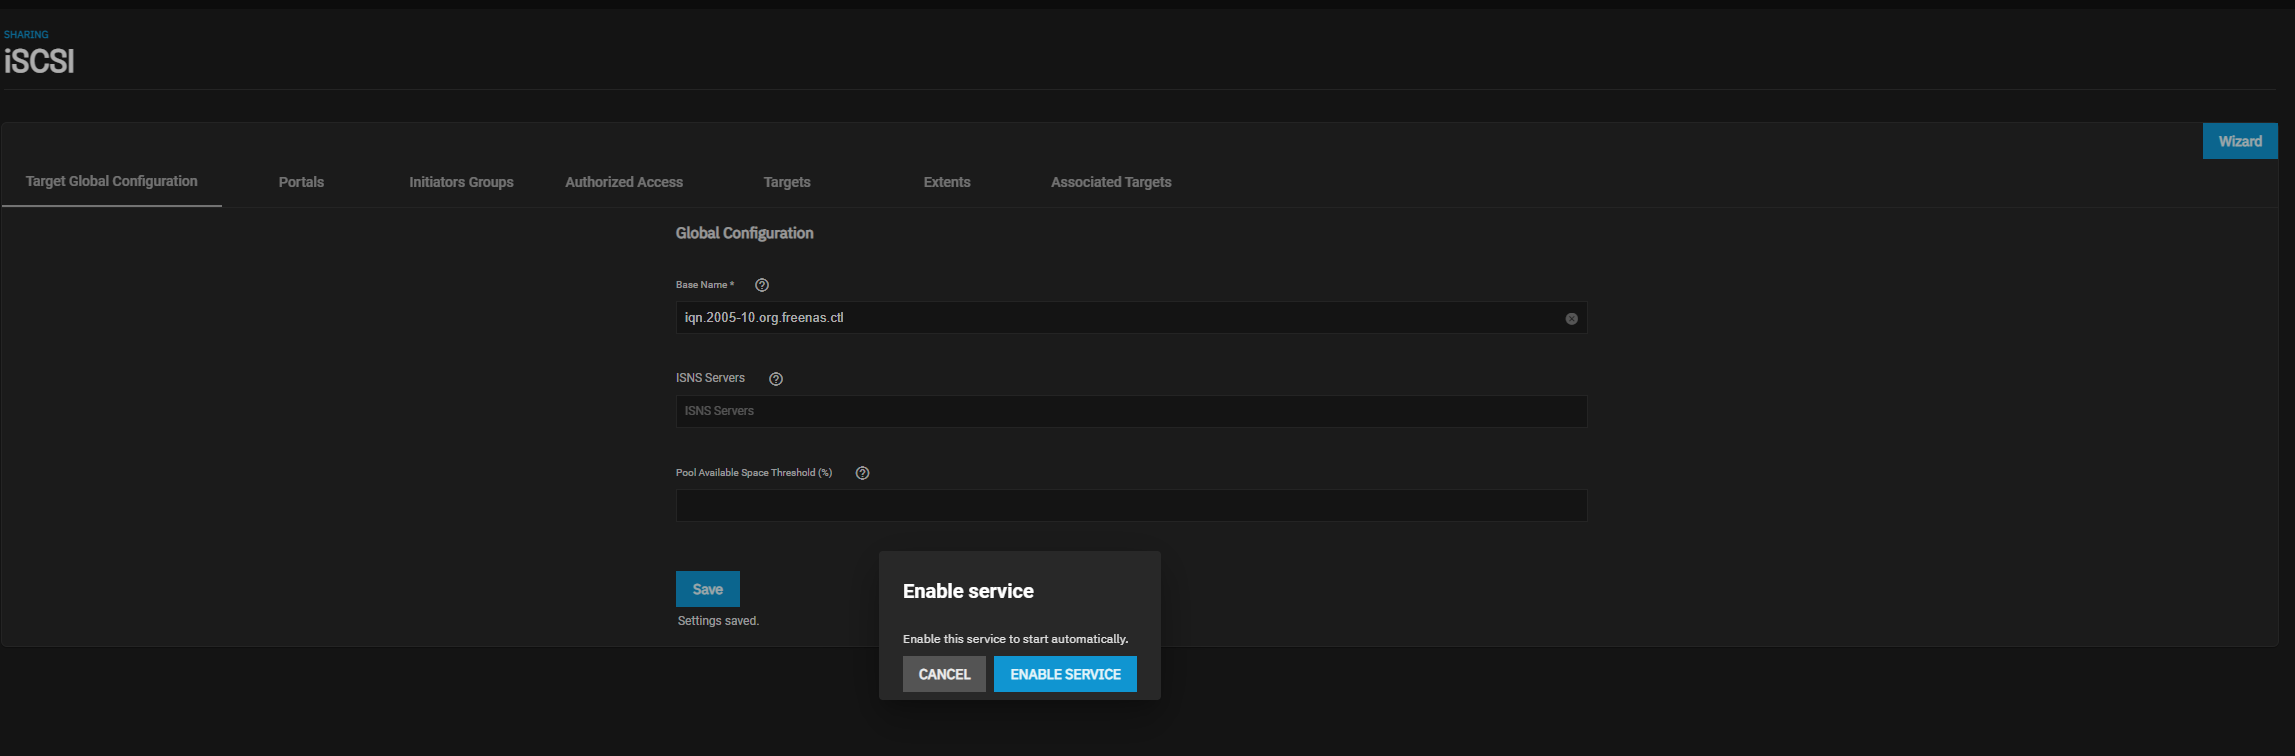
Repeat this step if more zvol (LUN’s) are needed.
Configuring iSCSI and creating datastores in ESXI/vSphere
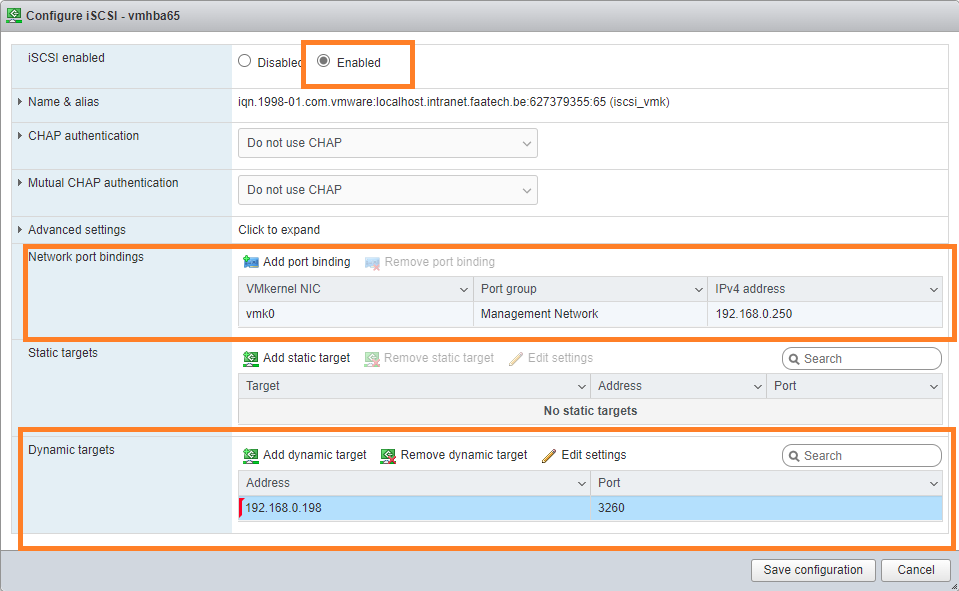
In ESXI, head over to Storage > Adapters > Software iSCSI

Then enable iSCSI. Add ‘VMK0’ as the VMkernel NIC, although in production dedicated interfaces should be used instead of the management interface. ‘Dynamic targets’ is easier to manage and configure than ‘Static targets. We don’t have to configure an initiator because it will automatically discover all possible initiators on the NAS.
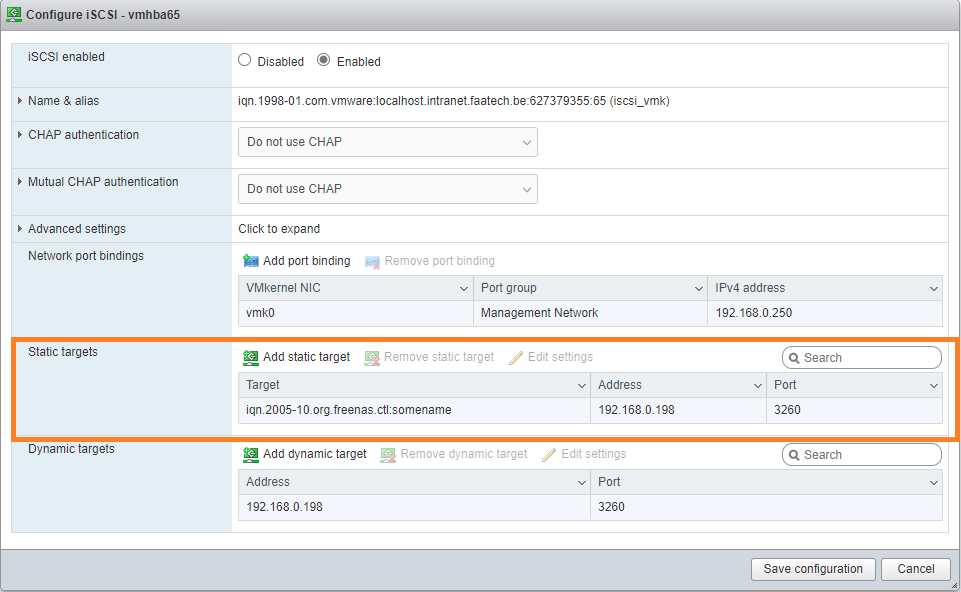
Once the configuration is saved, click ‘Software iSCSI’ again. Then we can see that ESXI has automatically added a static target with the initiator it has discovered.
Then head over to Storage > Devices. Click on ‘Rescan’ so it discovers storage devices.

After refreshing we can see a disk named ‘TrueNAS…’ has been added.

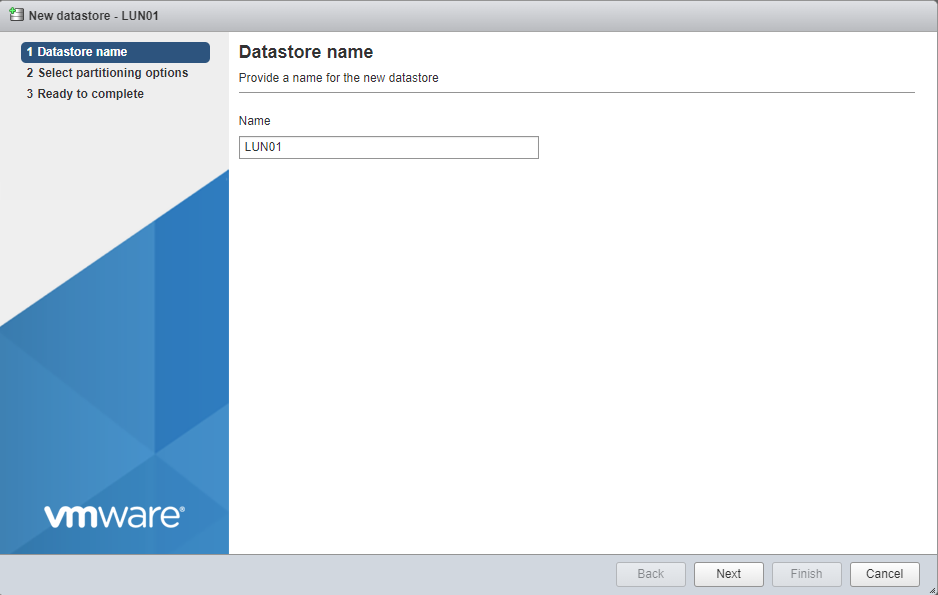
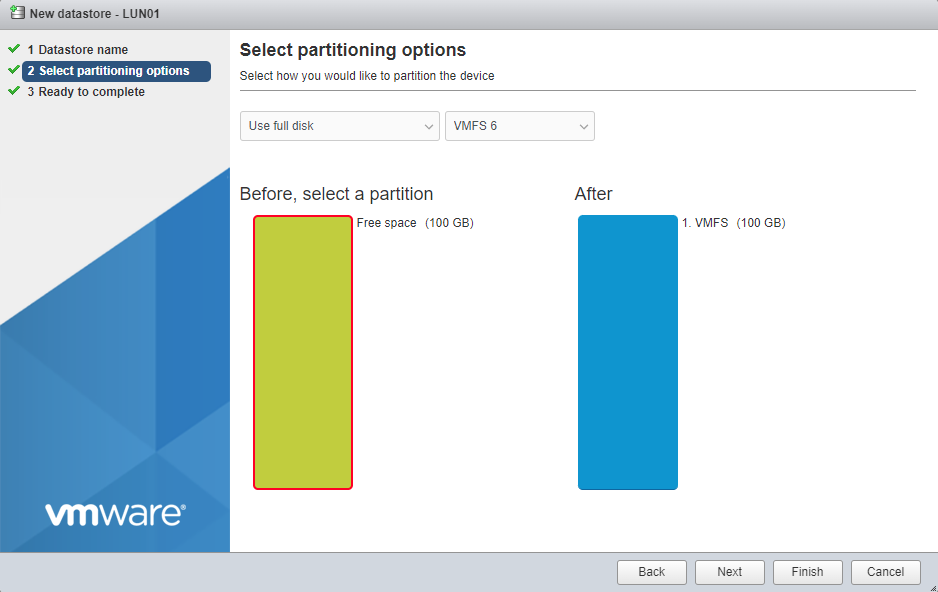
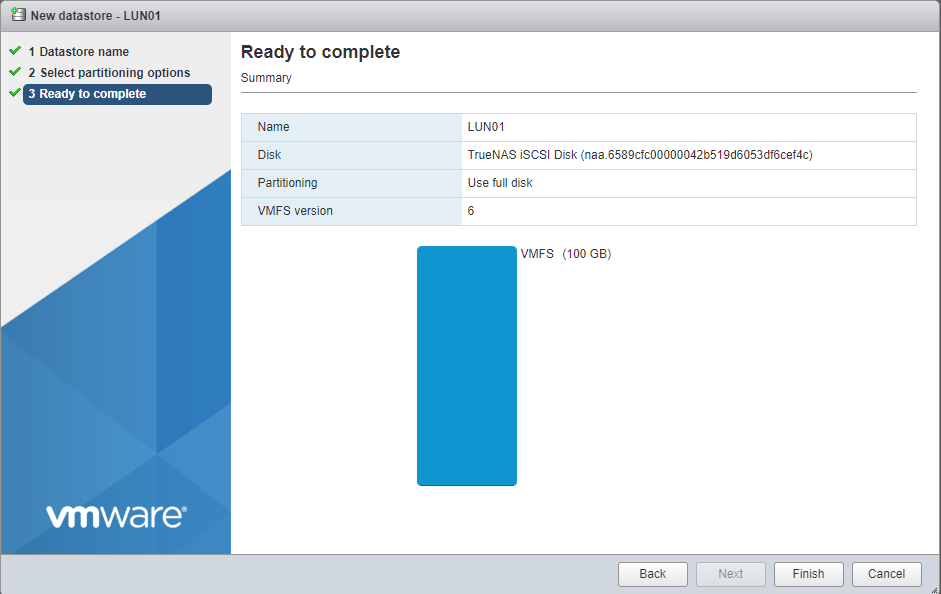
And at this point, it’s just a matter of creating a datastore using this drive.

Naming it and clicking next, next. The usual procedure.
Great article.
Thanks.
Thank you