This is the second part of this series. Click here if you wish to start with the first part.
Topology overview
Carefully analyze the topology before you begin.
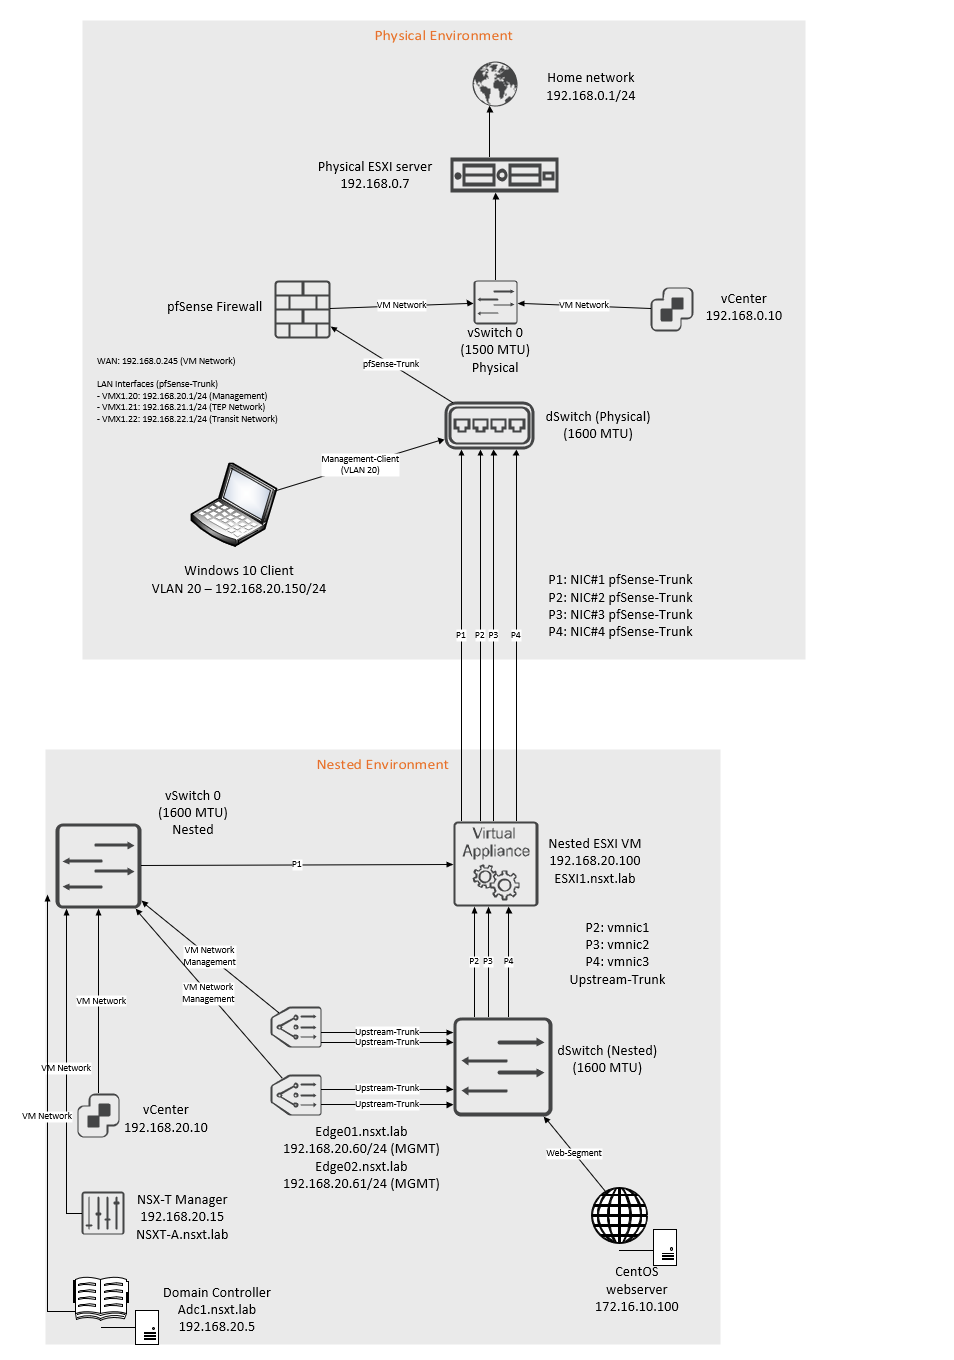
The IP blocks that are used are as follow:
| Network | VLAN ID | Subnet |
| Management Network | 20 | 192.168.20.0/24 |
| TEP Network | 21 | 192.168.21.0/24 |
| Transit Network | 22 | 192.168.22.0/24 |
The interfaces on the pfsense router:
| Interface name | VLAN ID | Address | MTU |
| vmx0 (WAN) | No VLAN | 192.168.0.245/24 | 1500 MTU |
| vmx1 | No VLAN | No IP address | 1600 MTU |
| vmx1.20 – Management Network | 20 | 192.168.20.1/24 | 1600 MTU |
| vmx1.21 – TEP Network | 21 | 192.168.21.1/24 | 1600 MTU |
| vmx1.22 – Transit Network | 22 | 192.168.22.1/24 | 1600 MTU |
Interfaces and switch configuration inside the nested environment:
| Uplink# | NIC# | Switch-type | Location |
| Uplink-1 | vmnic0 | vSwitch0 | Inside nested environment |
| Uplink-2 | vmnic1 | dSwitch | Inside nested environment |
| Uplink-3 | vmnic2 | dSwitch | Inside nested environment |
| Uplink-4 | vmnic3 | dSwitch | Inside nested environment |
Adding nested ESXI host to vCenter and configuring dSwitch
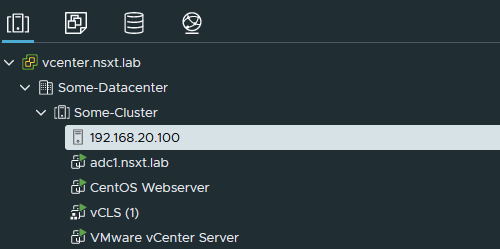
Browse to https://192.168.20.10 or https://vcenter.nsxt.lab depending on whether you have configured an FQDN or not.
Create a new datacenter, a new cluster and add your nested ESXI host.
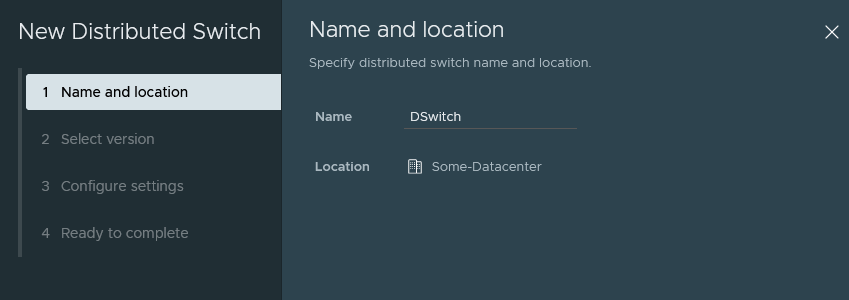
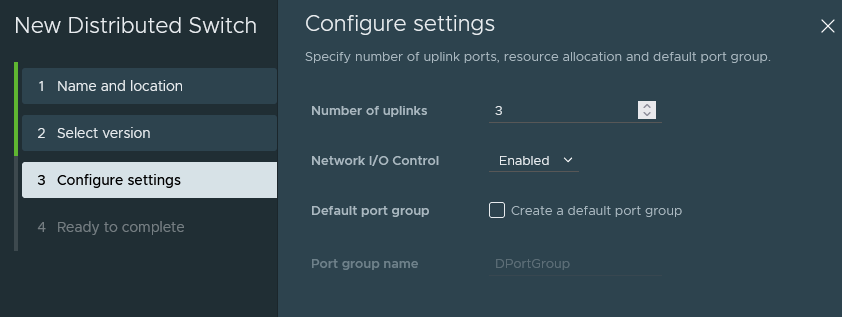
Under networking create a new dSwitch.
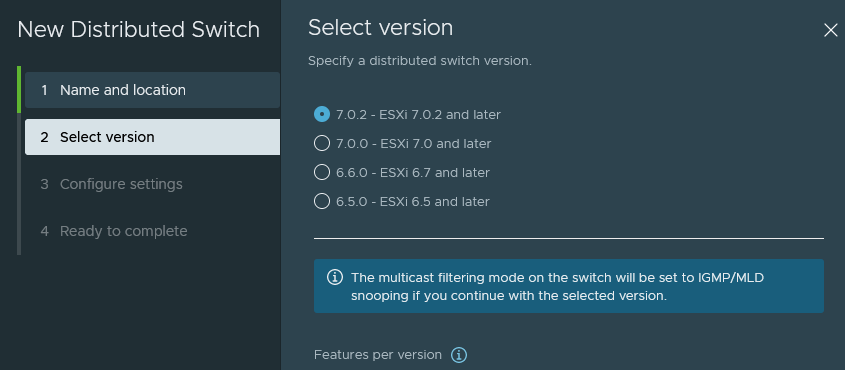
Click next unless you have to select an older version.
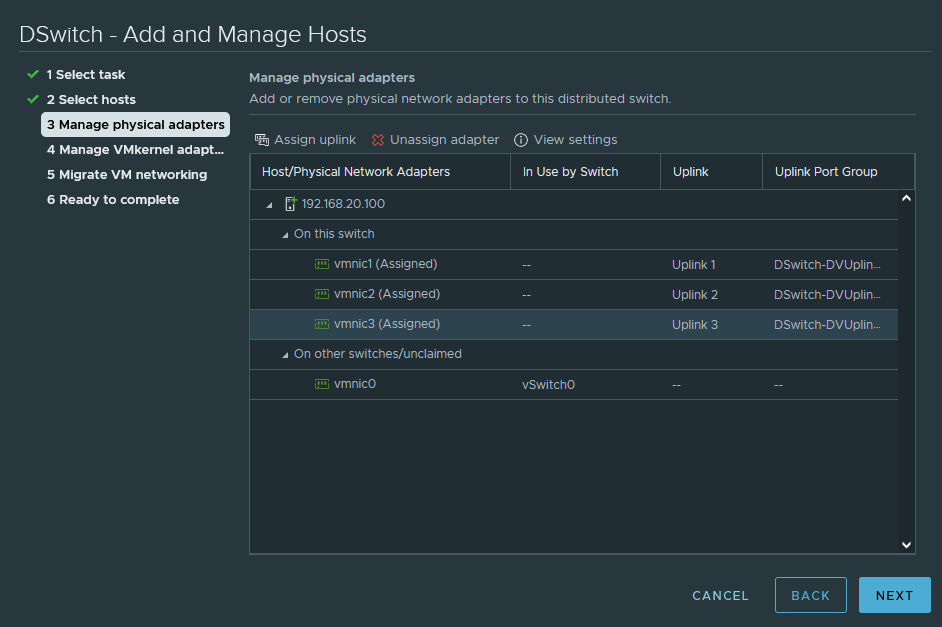
Only 3 uplinks are needed. We don’t need the default port group.
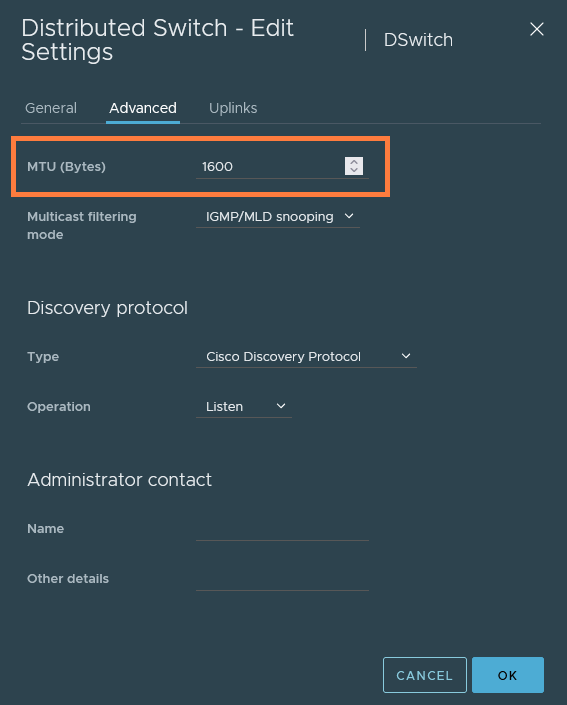
Once that’s done, edit the dSwitch’s MTU settings.
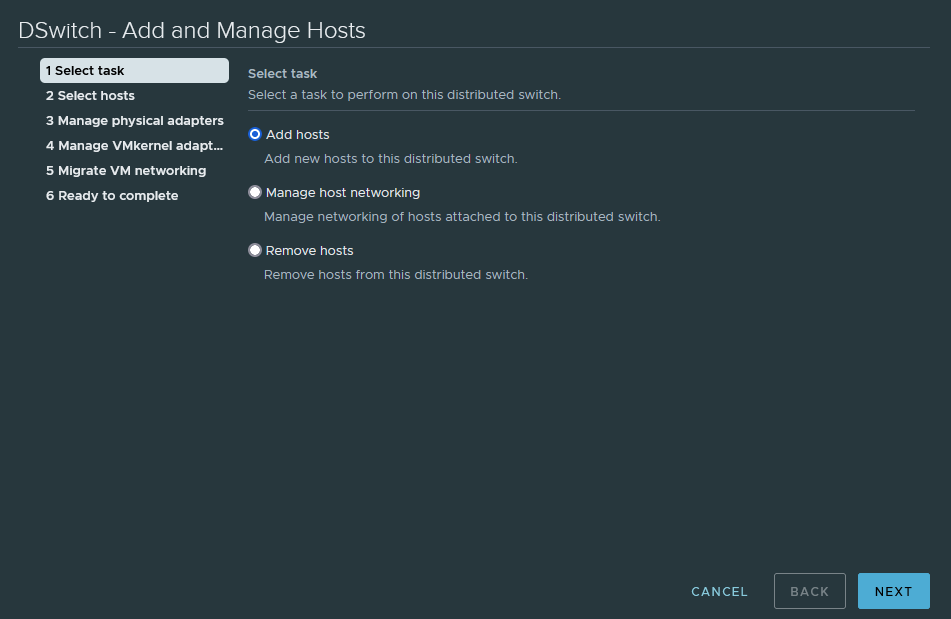
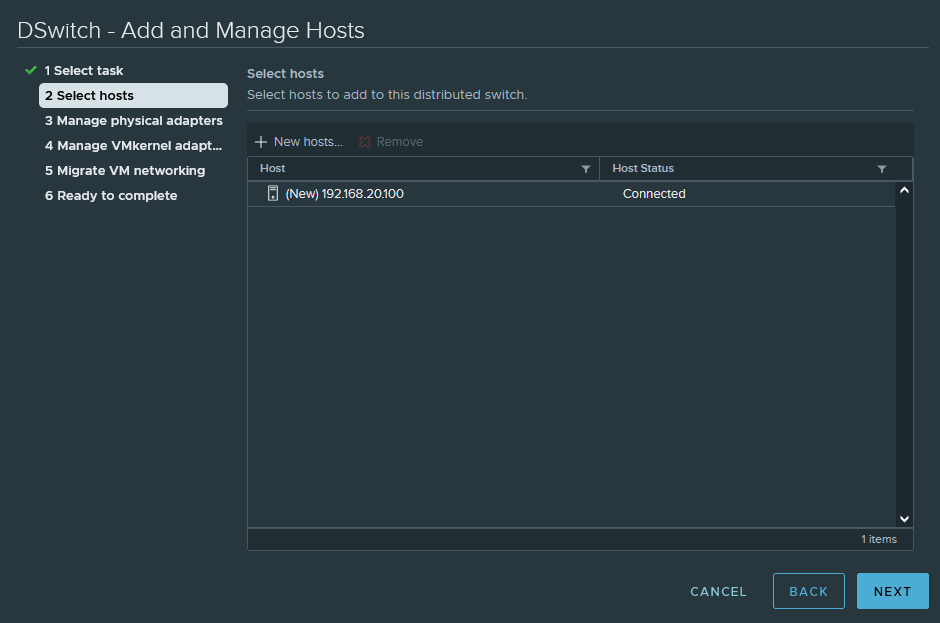
Now we’ll have to assign the nested ESXI host to the switch.
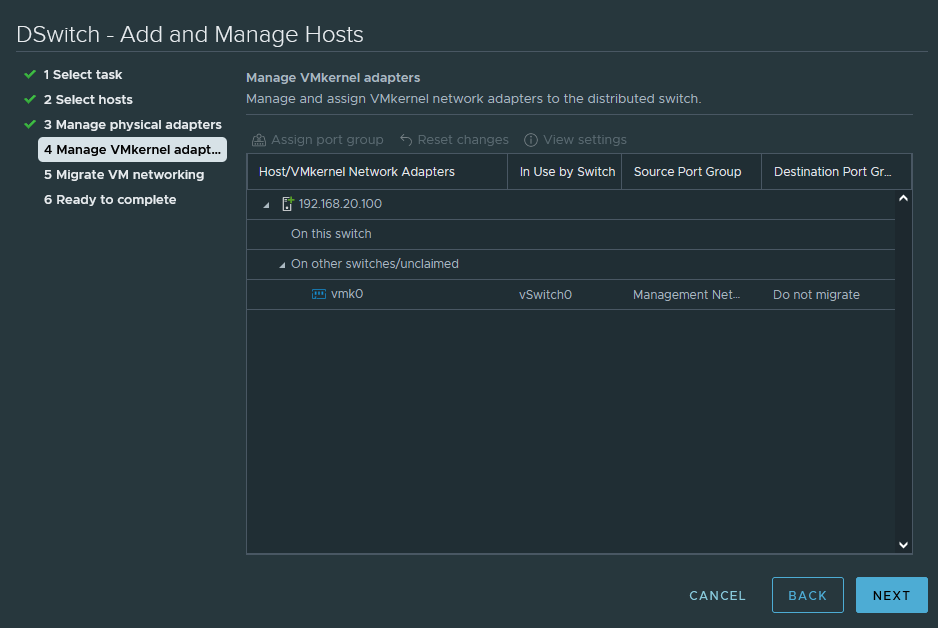
We’ll leave vmnic0 alone and let it belong to vSwitch0 because it has the MGMT VMK.
We’re not migrating the MGMT VMK at all, so just click next.
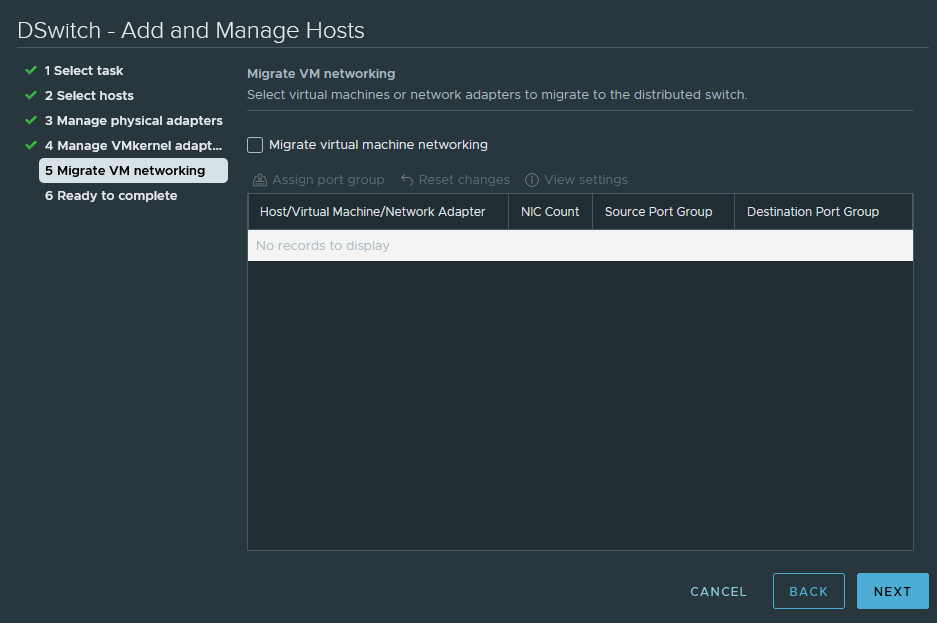
Again because we’re not migrating, click next.
Deploying the NSX-T Manager
Let’s start with deploying the ova template which is usually named ‘nsx-unified-appliance.ova’.
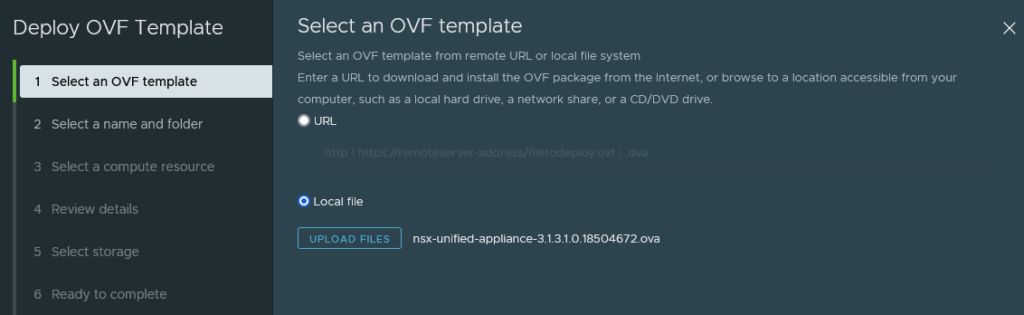
You may rename the VM name.
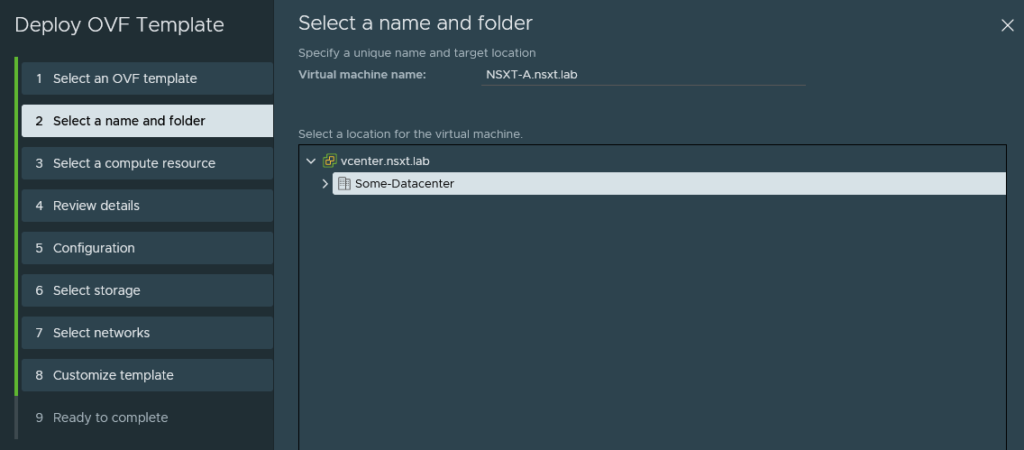
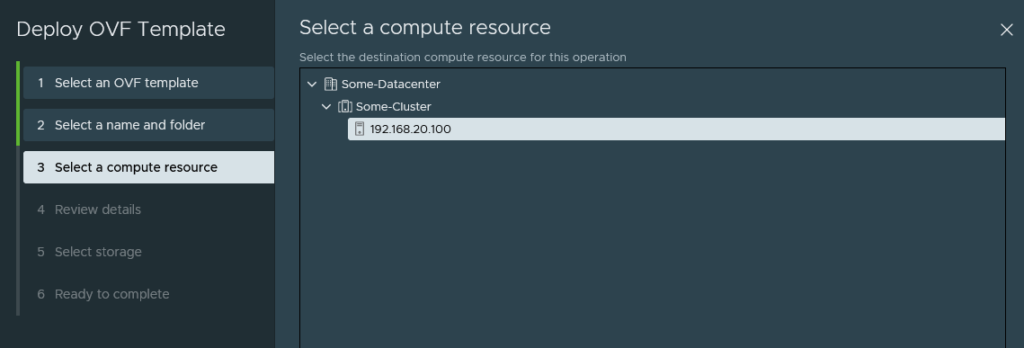
We can click next because there’s only a single host added to vCenter.
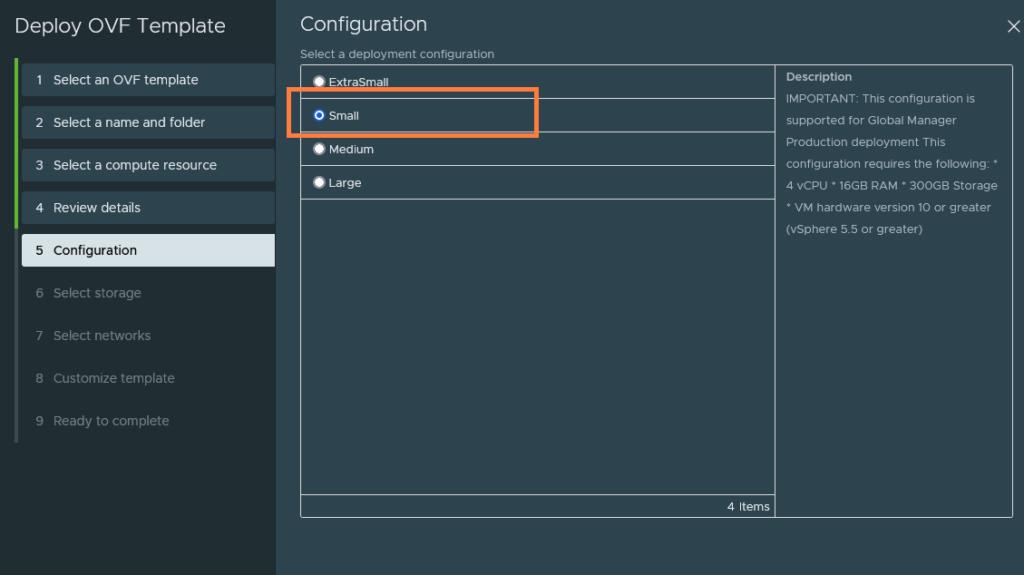
Select ‘Small’. Do not select the ‘ExtraSmall’ option because it’s meant to be used in conjuction with NSX-T cloud service manager.
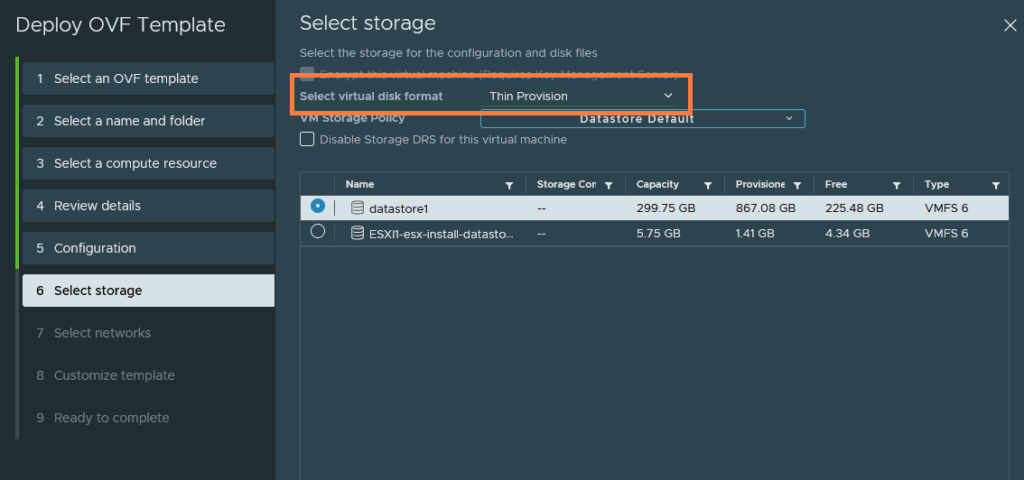
Set it to thin provisioning to save on resources. Select the appropriate datastore.
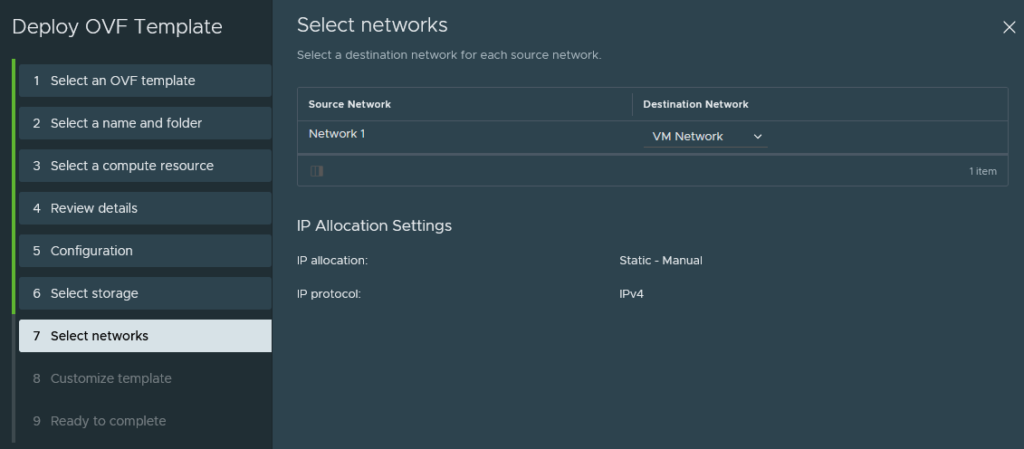
The default port group ‘VM Network’ (VLAN 20 – 192.168.20.0/24) is what we want and this will be the management interface.
Enter a password for the root, admin and audit user.

Configure the management IP address and the DNS server.
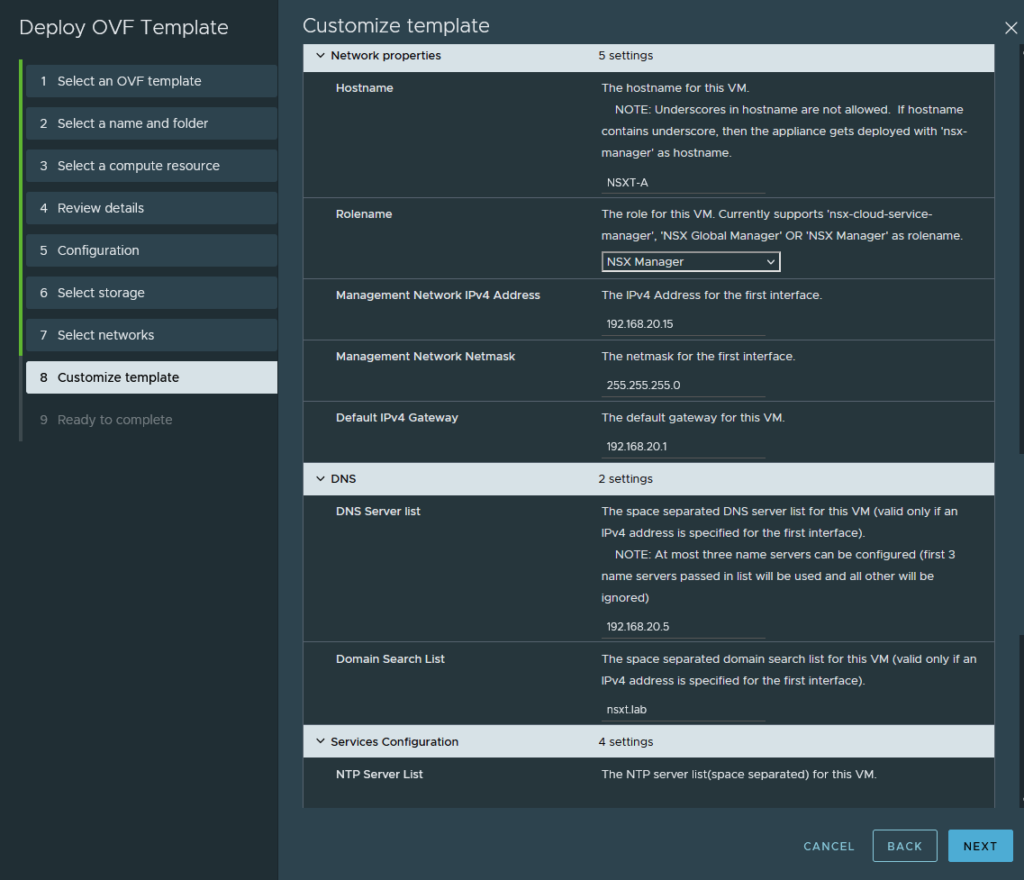
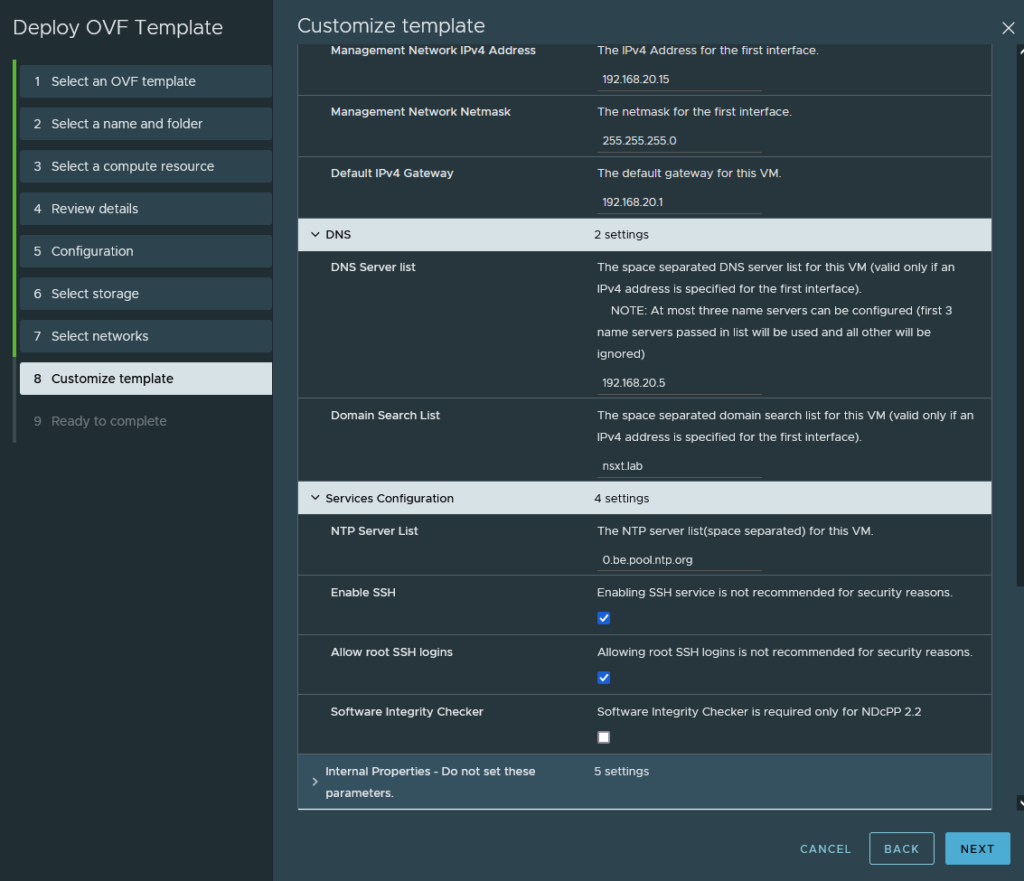
Enable the SSH service and configure NTP. We do not need to change anything else.
And finish.
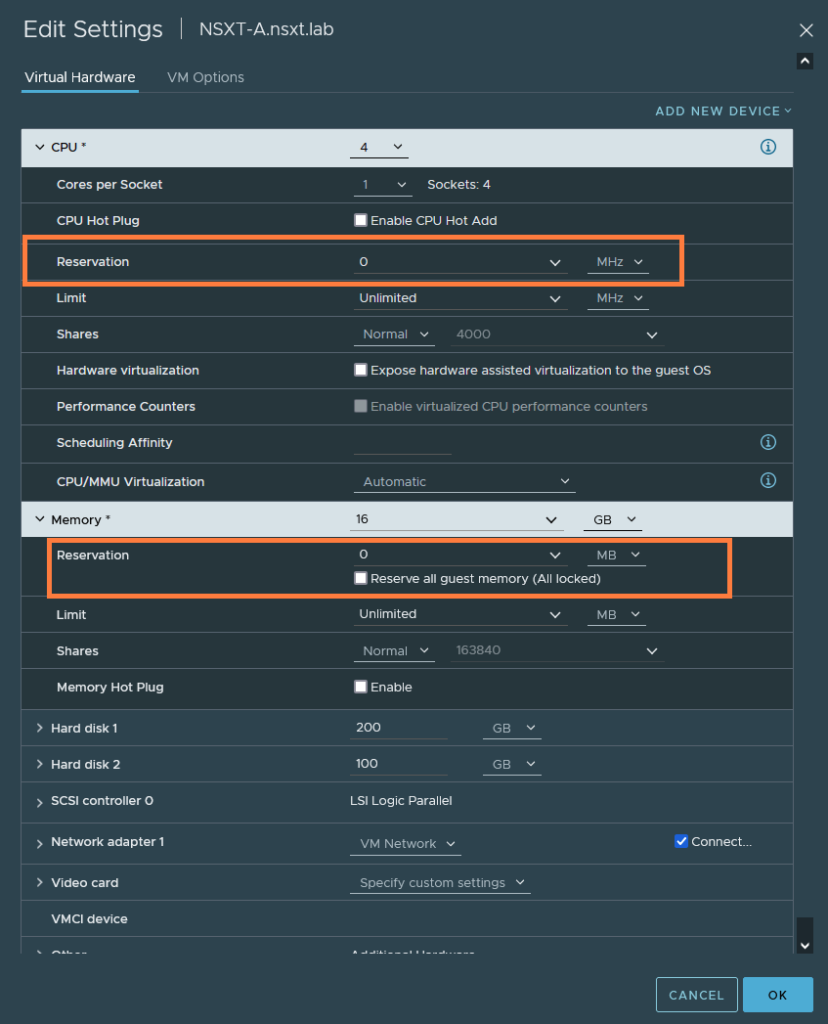
Once it’s deployed, edit the VM’s settings and let’s remove the resource reservations for the CPU and RAM usage because we are quite restricted on resources.
Accessing the NSX-T Manager and linking vCenter
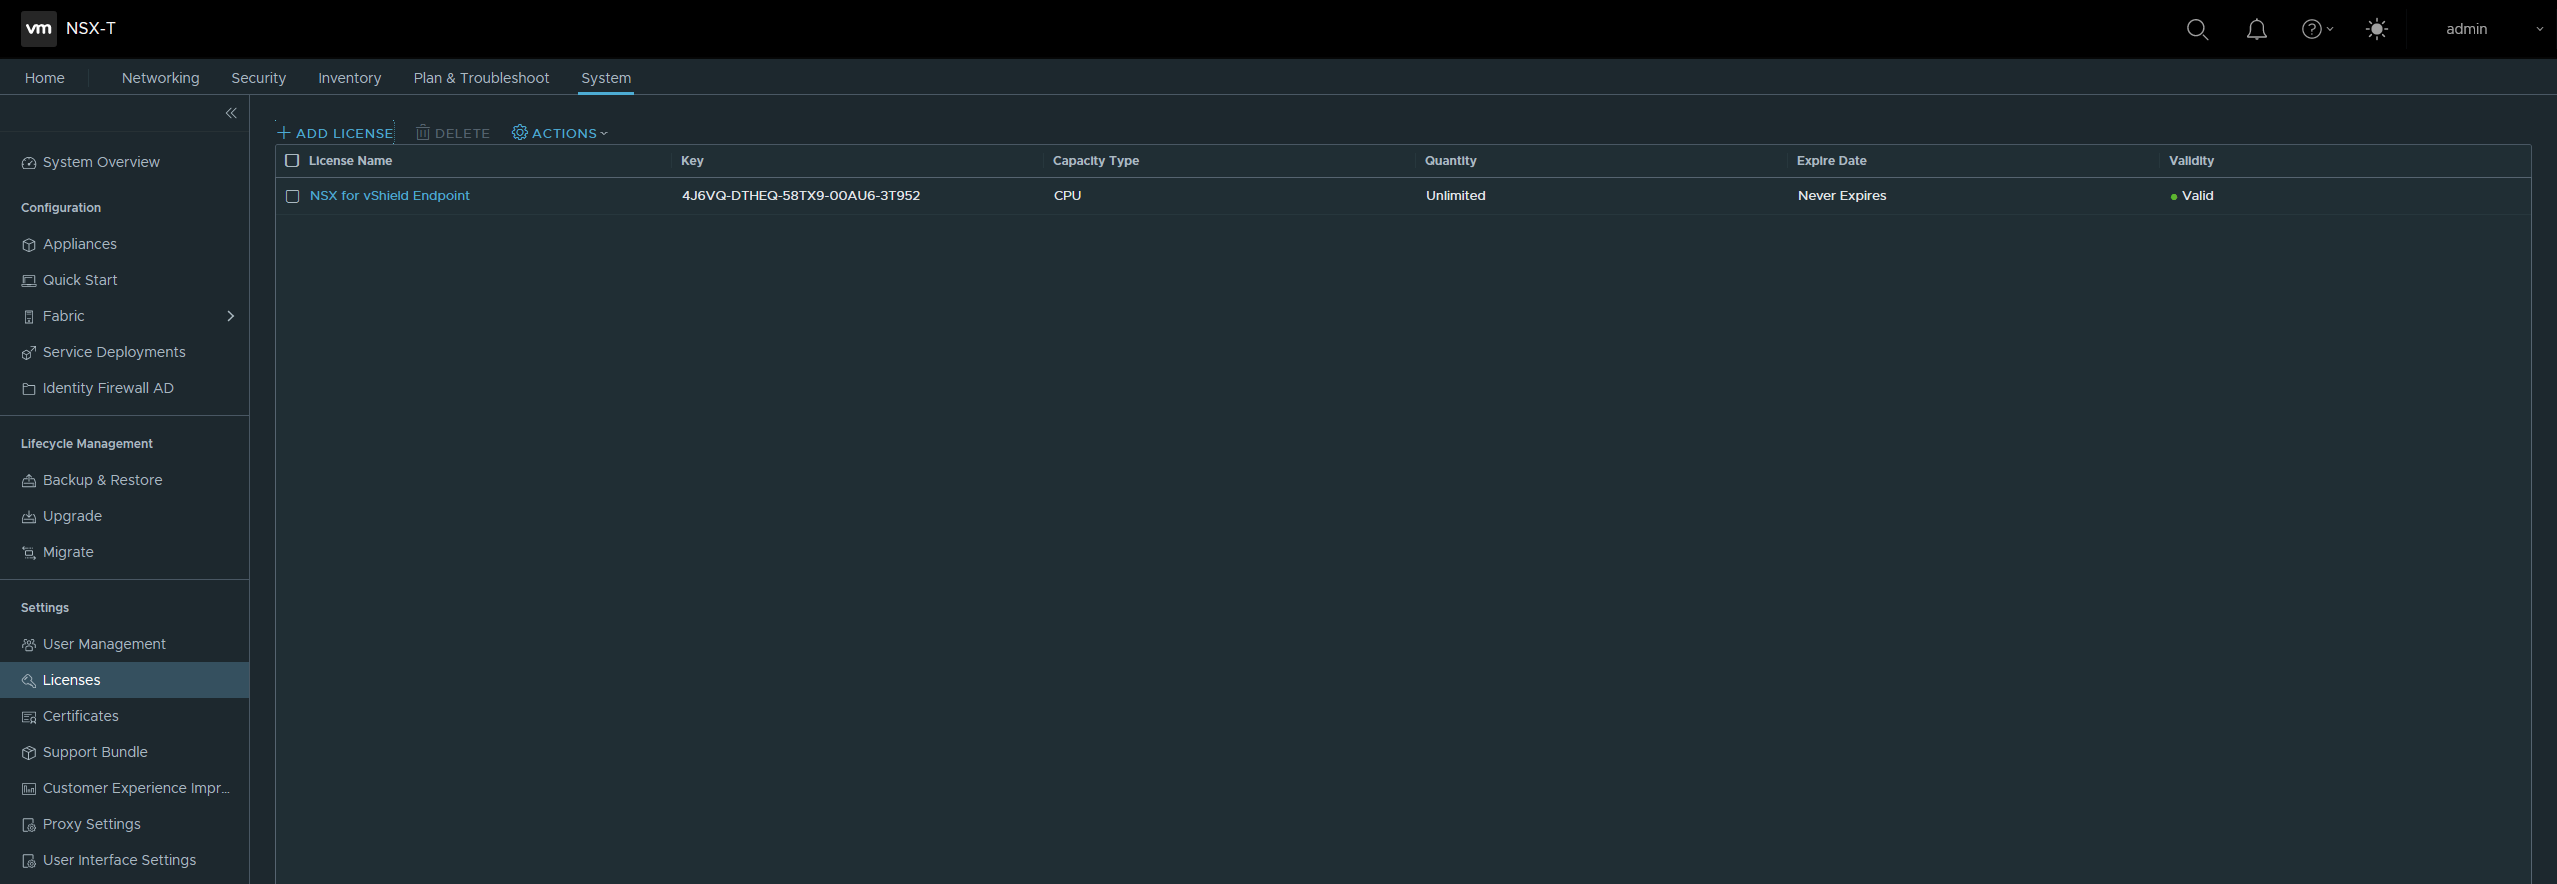
Browse to https://192.168.20.15 or NSXT-A.nsxt.lab. It will take a while before it’s ready to use. Once it’s ready, set your license keys.
Next, we’ll add our vCenter as a compute manager to NSX-T. Head over to Fabric > Compute Managers
Use the default administrator@vsphere.local username and the address of the vCenter should be either an FQDN or an IP address.
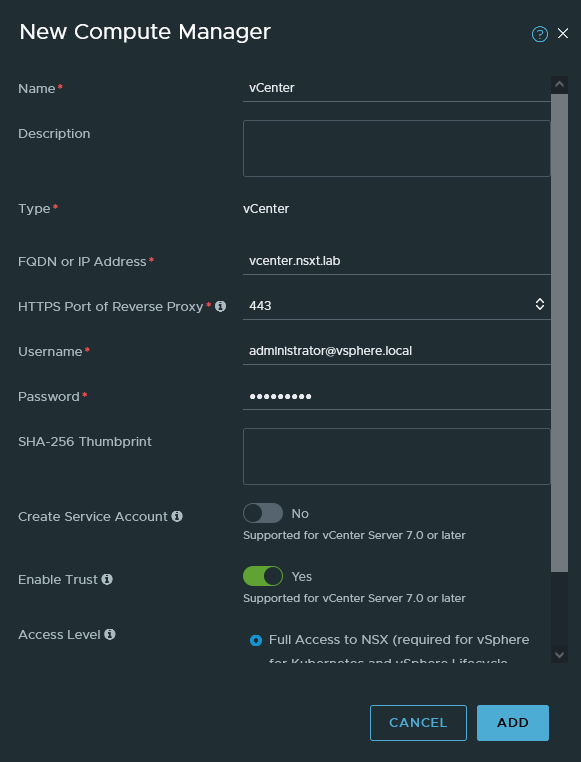
Once it’s complete, it should show that is registered.

Ending part 2
In the next part we will finally get to configuring NSX-T and the Edges. Click here to continue with part 3.